For this card I'm working with some Cut and Create dies from Couture Creations. I've used the Floral Frame and Standing Daisies Cut and Create Layering die sets. Both sets are from Couture Creations Vintage Flowers Layering Cut and Create dies collection. The flowers in the Standing Daisy set are the same size as those on the frame, so they can be layered together.
Couture Creations Cut and Create dies can be used to cut and emboss, cut and stamp or, in conjunction with the GoPress & Foil, they can be used to create foiled elements in a design.
For my card I've used my GoPress & Foil to add contrasting colour using a variety of Couture Creations hotfoils. For the frame I've used Sea Breese (turquoise), for the daisies and the sentiment I've used Phantom Purple and for the butterfly and the centres of the daisies I've used a silver iridescent foil.
The Floral Frame Cut and Create die set includes the Frame, Sentiment and Butterfly
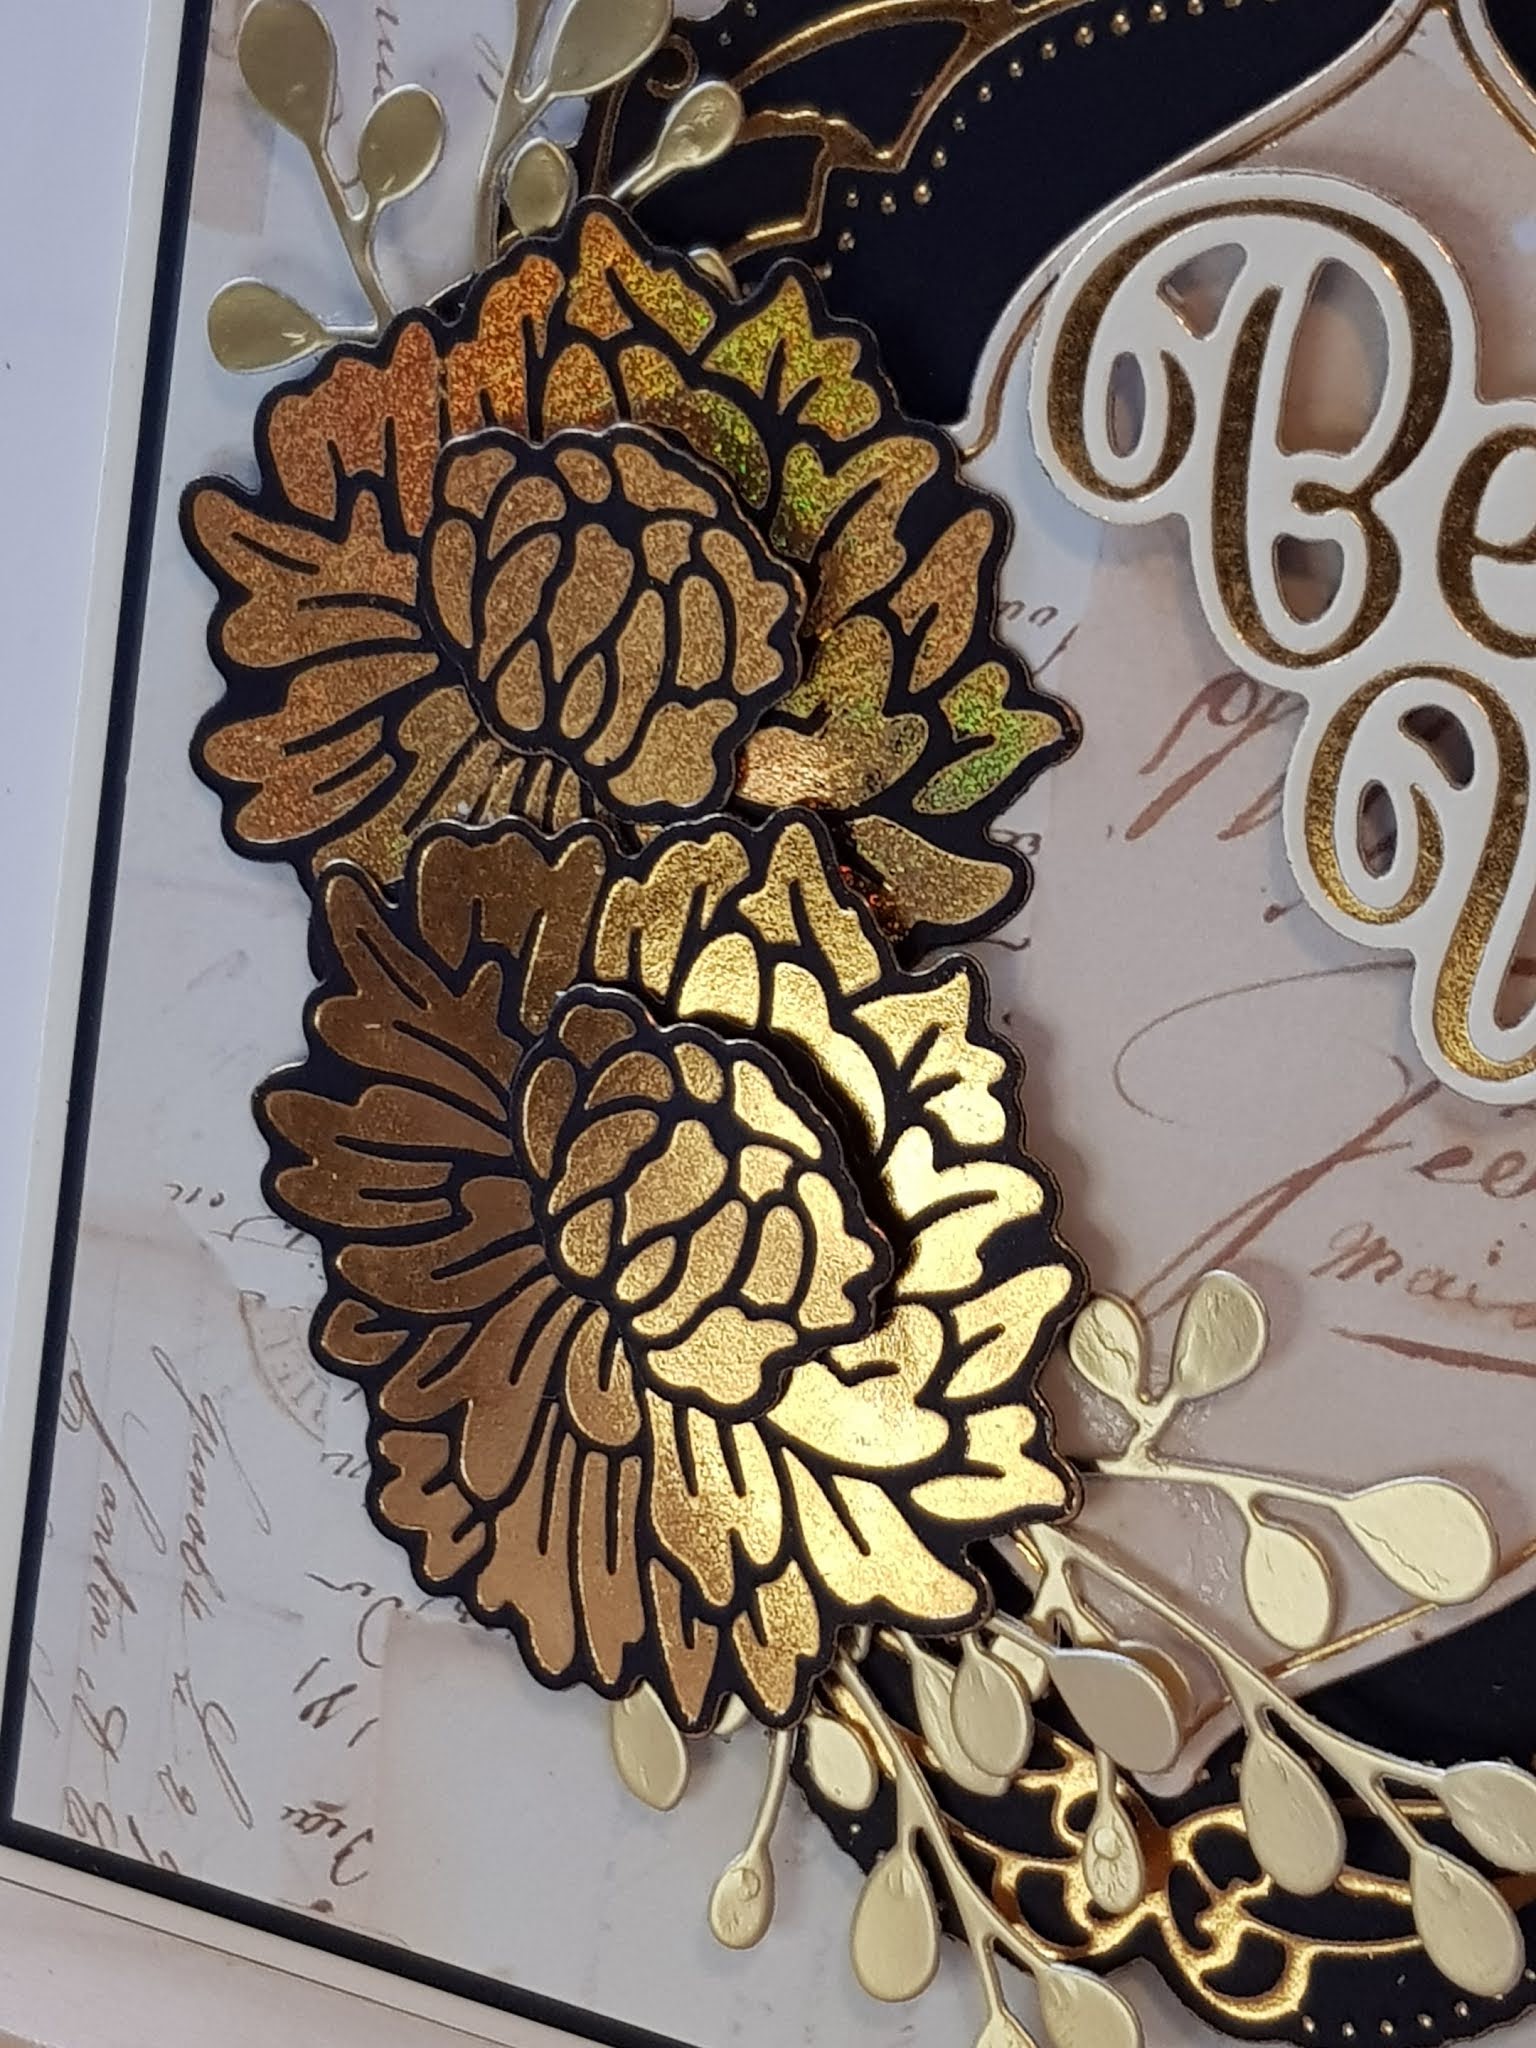
The beautiful flowers used on this card are from the Couture Creations Vintage Flowers Collection - Layered Zinnias. I thought they were peonies, but I'm no gardener - the important thing is that they are a beautiful embellishment to use in craft projects. I've used them with foil (and my GoPress & Foil machine) in this project but they can also be used like normal thin dies and just cut out, or inked and cut.
The Layered Zinnia set has 2 dies - one for the main flower and a 2nd one to create the centre - this allows you to create a layered, dimensional look.
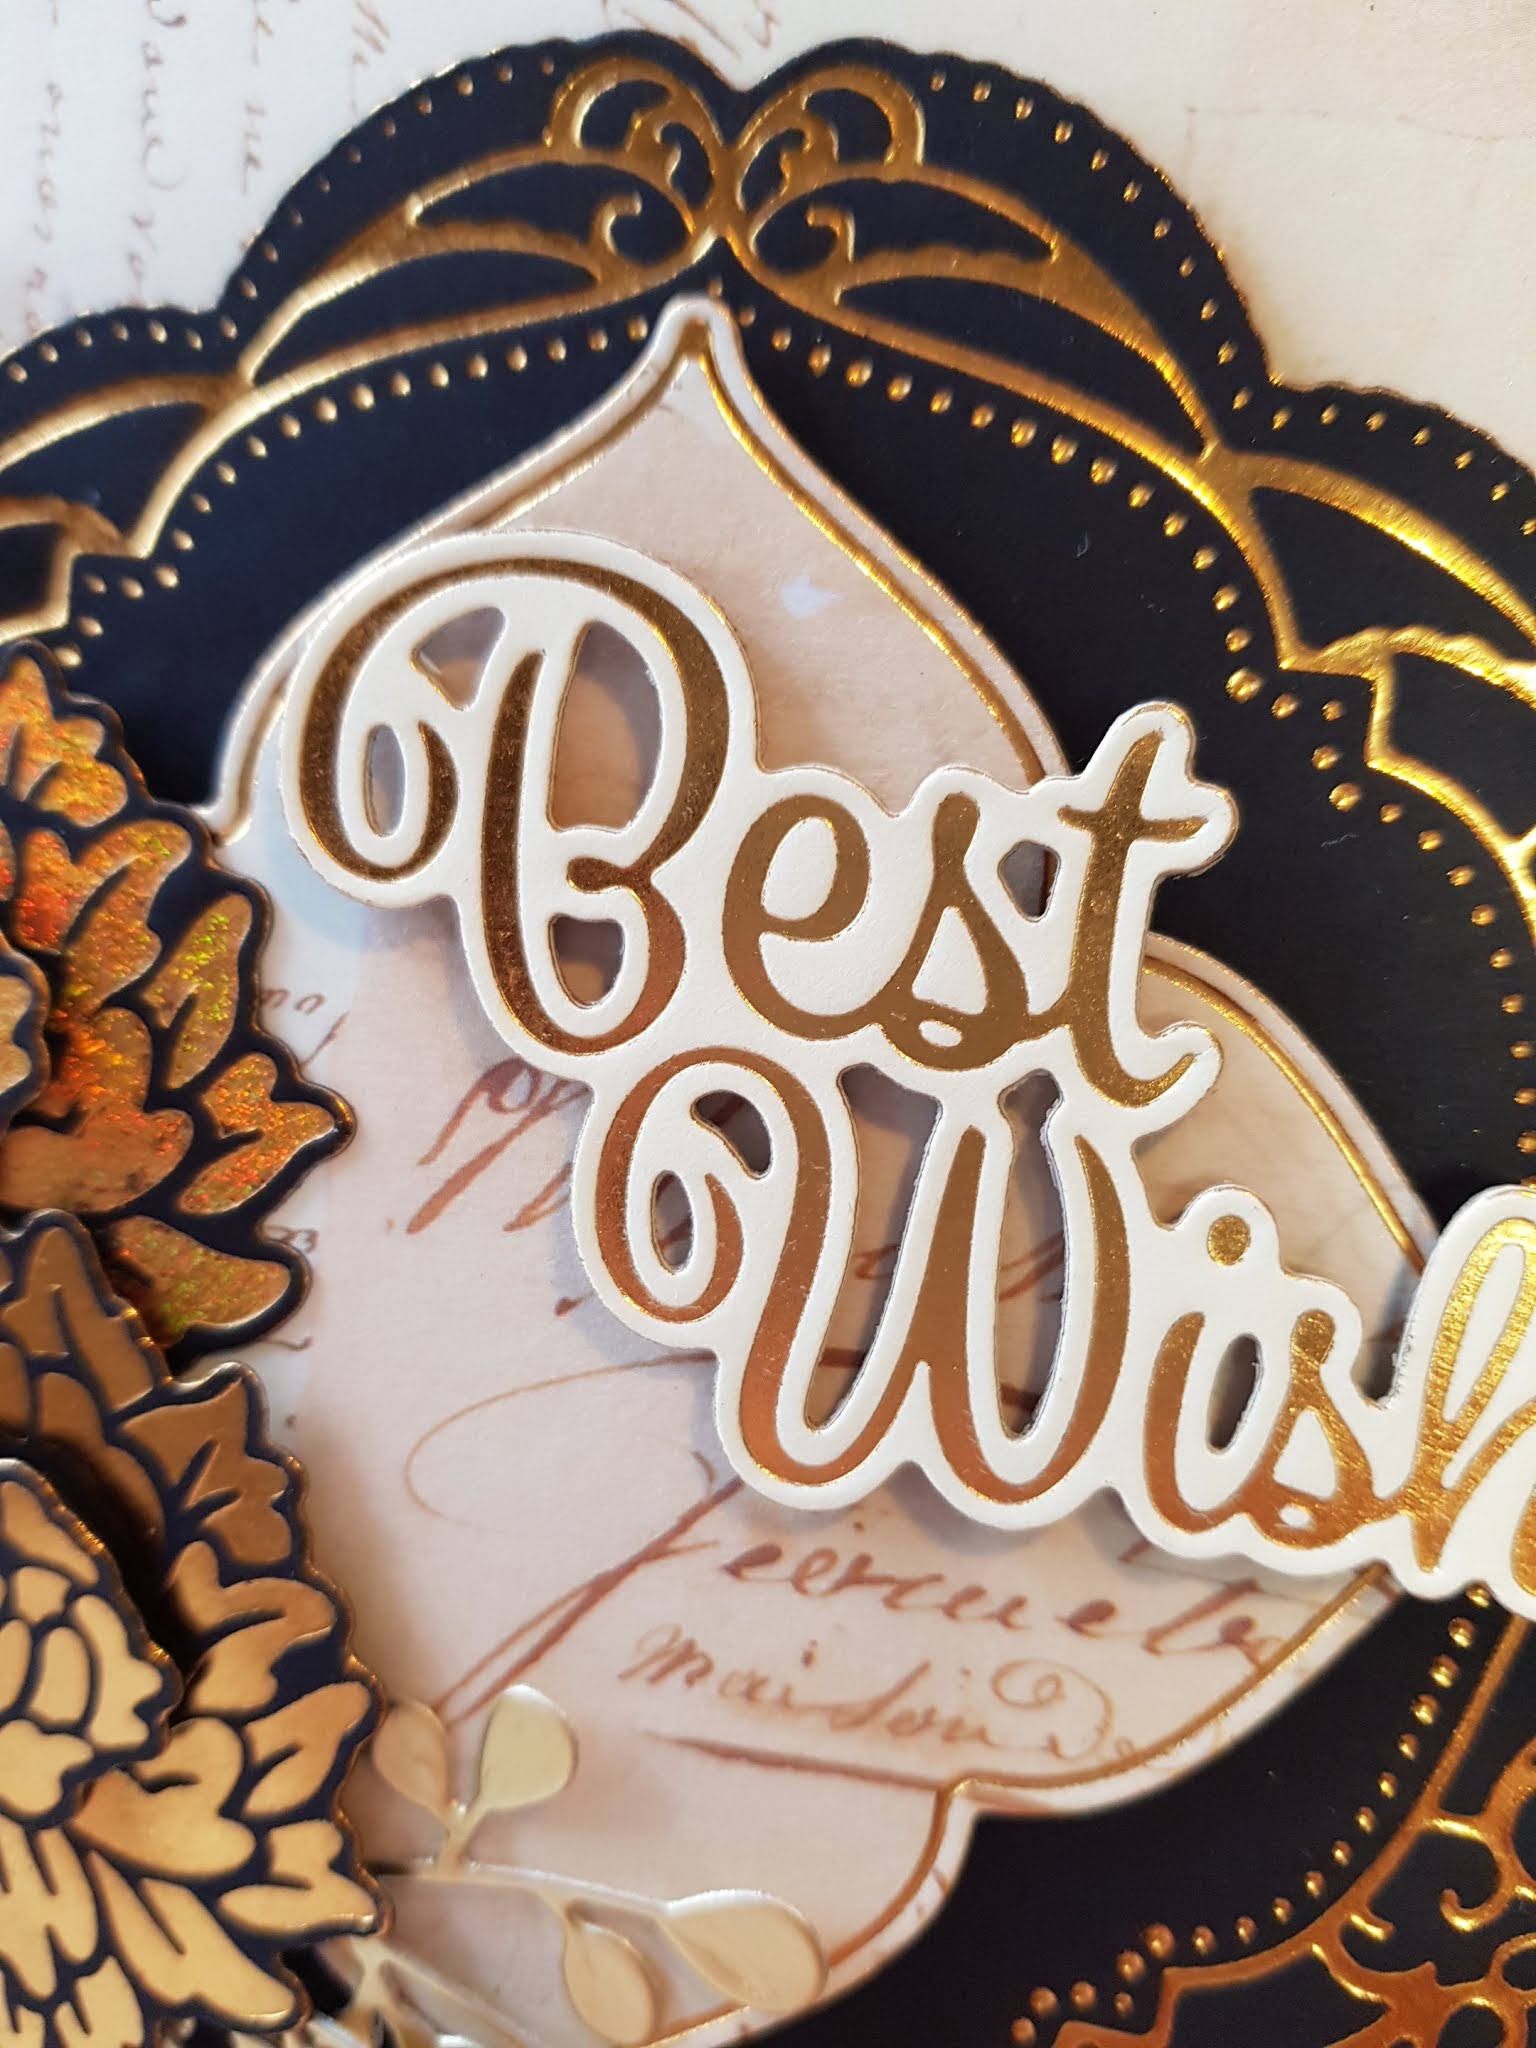
The Sentiment on this card is from another of the Vintage Flower die sets - the Floral Frame, which is a set of 3 - a frame, a butterfly and the Best Wishes sentiment. To make raising this on foam pads easier, I've cut the die again from the craft card used as a shim when foiling it and stuck the 2 layers together.
To build up the layers of this card, I first cut my card blank from a cream A5 card blank. I used the waste piece from this to foil the sentiment.
I cut a piece of black card to 14.4cm square and then Cut & Foiled the largest die from the Nesting Circular Flourished Frames Cut, Foil and Emboss die set.
I cut my backing paper to 14cm square, then cut & foiled the centre piece of the topper using a die from the Nesting Floral Frames Cut, Foil and Emboss die set. When using these sets with paper I add a card shim when foiling. This protects the paper from being torn during the foiling process and I used the extra layer of card with the paper to make it stiff enough to raise with foam pads.
I show how to foil the Zinnia flowers in my video (link at the bottom of the page). I've added a small black foam pad under the top of the flower centre to make it stand out.
In my video I show you how to foil the Zinnia flowers and put the card together, and also show you other dies in the Vintage Flowers collection.
I love to create cards that have an illusion of depth and movement.
To create the layered bells on this card I've used the Ringing Bells die, and cut it out 4 times, trimming each die cut down
I used some Card Deco Pearl pigment inks to colour the die cuts. The variations in the intensity of the colour on the bells helps to show the layers.
When sticking the layers together, I've only used glue at the tops of each layer, so that the bottoms of the bells can be lifted and shaped.
My card is 7" x 5" - I've used the same green ink that I used to colour the holly leaves, blended around the edges of the card blank.
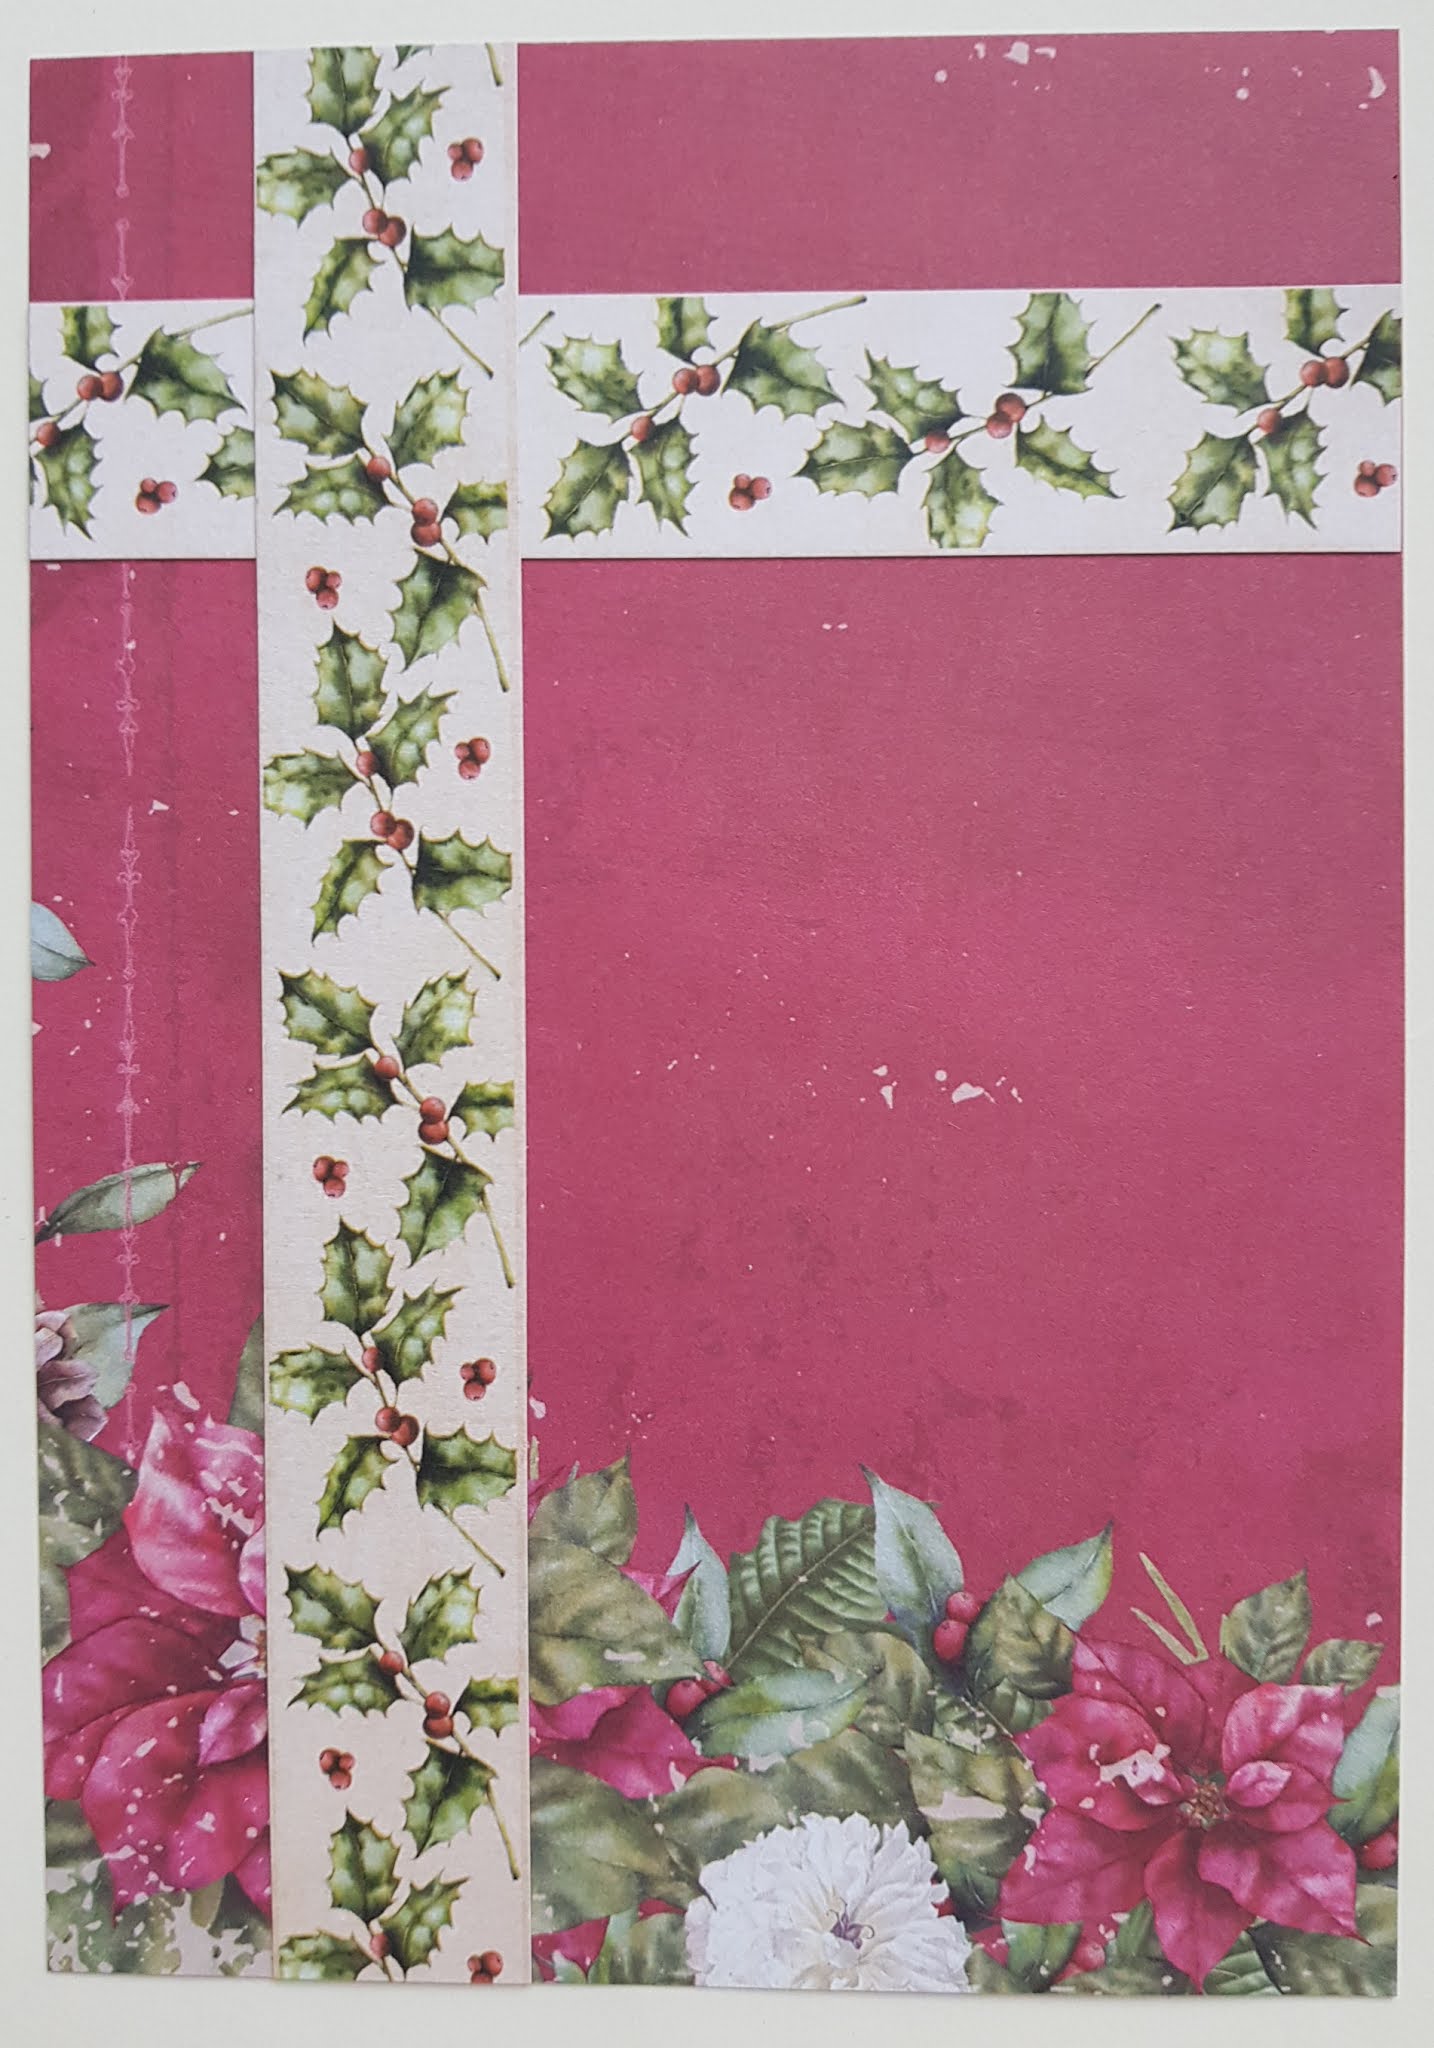
I've used the bottom, left corning of sheet 6 in The Gift of Giving 12x12 papers, cut to 6 3/4" x 4 3/4". The strips with the holly pattern are from the other side of the same 12 x 12 sheet.
Cut the backing paper to size and attach and trim the holly strips before sticking the backing paper down on the card blank.