Sentiment Collage Card

I made the background for this card using the Couture Creations Steampunk Dreams Sentiment stamp set. I arranged a selection of the sentiments on my stamping platform so that I could stamp once, turn the card/paper 1/4 turn and then stamp again. I stamped on a piece of card/paper 14.85cm x 14.85cm - an A5 piece of card cut down to a square. After stamping I trimmed the card to 14cm square and added a mat layer.
While I had the stamps laid out on my stamping platform, I made a few backgrounds so I have several versions of this card.

This one is some blue inks on plain white card. I've matted with navy blue card and then foiled the Steampunk Butterfly in silver on navy blue card.
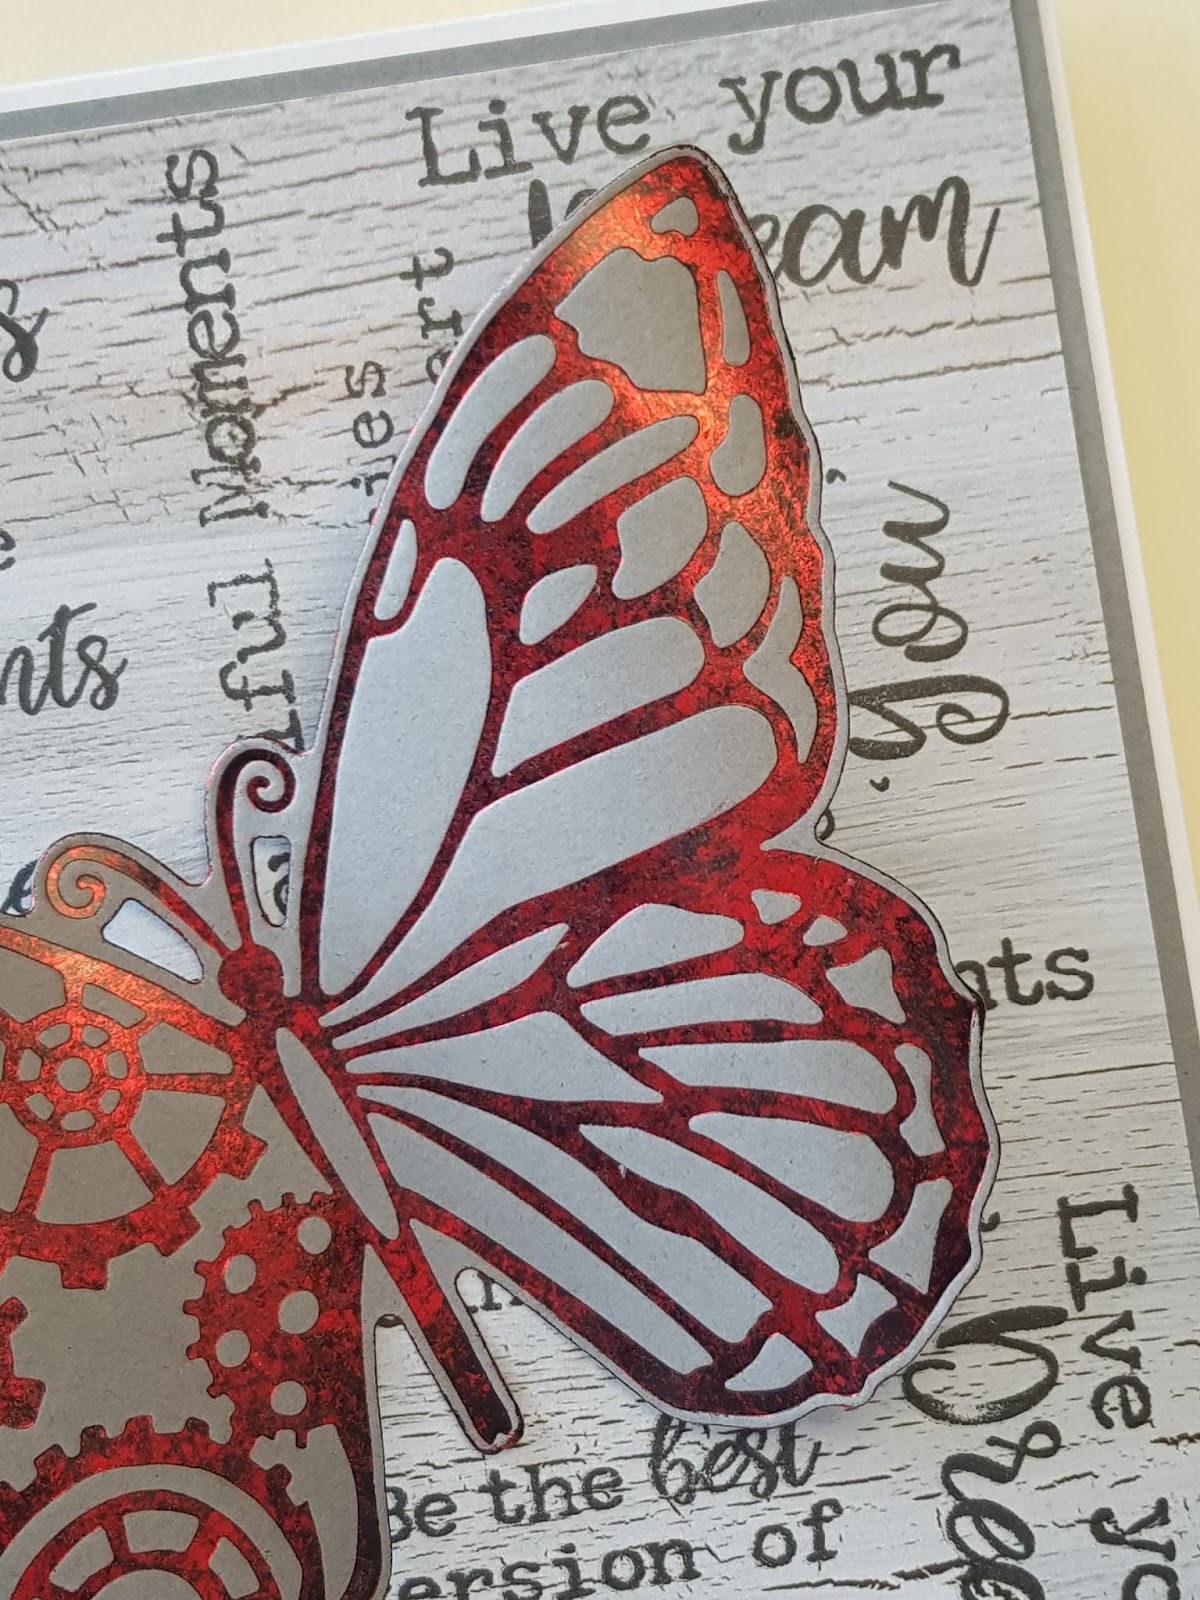
For this one I stamped onto a piece cut from one of the 12"x12" papers from the Steampunk Dreams collection. I've matted with some grey card and then used the same card for the butterfly. The foiling on the butterfly is black and red. I've doubled foiled with the 2nd layer being distressed to achieve a mottled/crackle effect. I show you how to do this in my video.

To keep the butterfly's wings up I added some foam dots before sticking the butterfly down - they are only stuck to the butterfly and not to the card.

For this version of the card I stamped in some beige and red inks and used some dark red card as the mat and for the butterfly. The butterfly on this card is also double foiled - this is the one made in my video.


Here's how I laid out the stamps - I kept them aligned so that when I rotated the card non of them would be upside down - they would either be the correct way up or vertical.


Couture Creations Products Used:
CO727724 - Cut & Create Die - Steampunk Dreams - Steampunk ButterflyCO727719 - Stamp Set - Steampunk Dreams - Steampunk Sentiments Stamp Set
CO727708 - 12 x 12 Paper - Steampunk Dreams - Double Sided Patterned Papers 2
CO726073 - Foil - Heat Activated - Golden Cream (Light Mirror Finish)
CO725390 - Foil - Heat Activated - Deep Red (Mirror Finish)
CO725693 - Foil - Heat Activated - Midnight Black (Mirror Finish)
CO725691 - Foil - Heat Activated - Chocolate Copper (Mirror Finish)
CO726428 - Adhesive - 3D Foam - Black Dots


