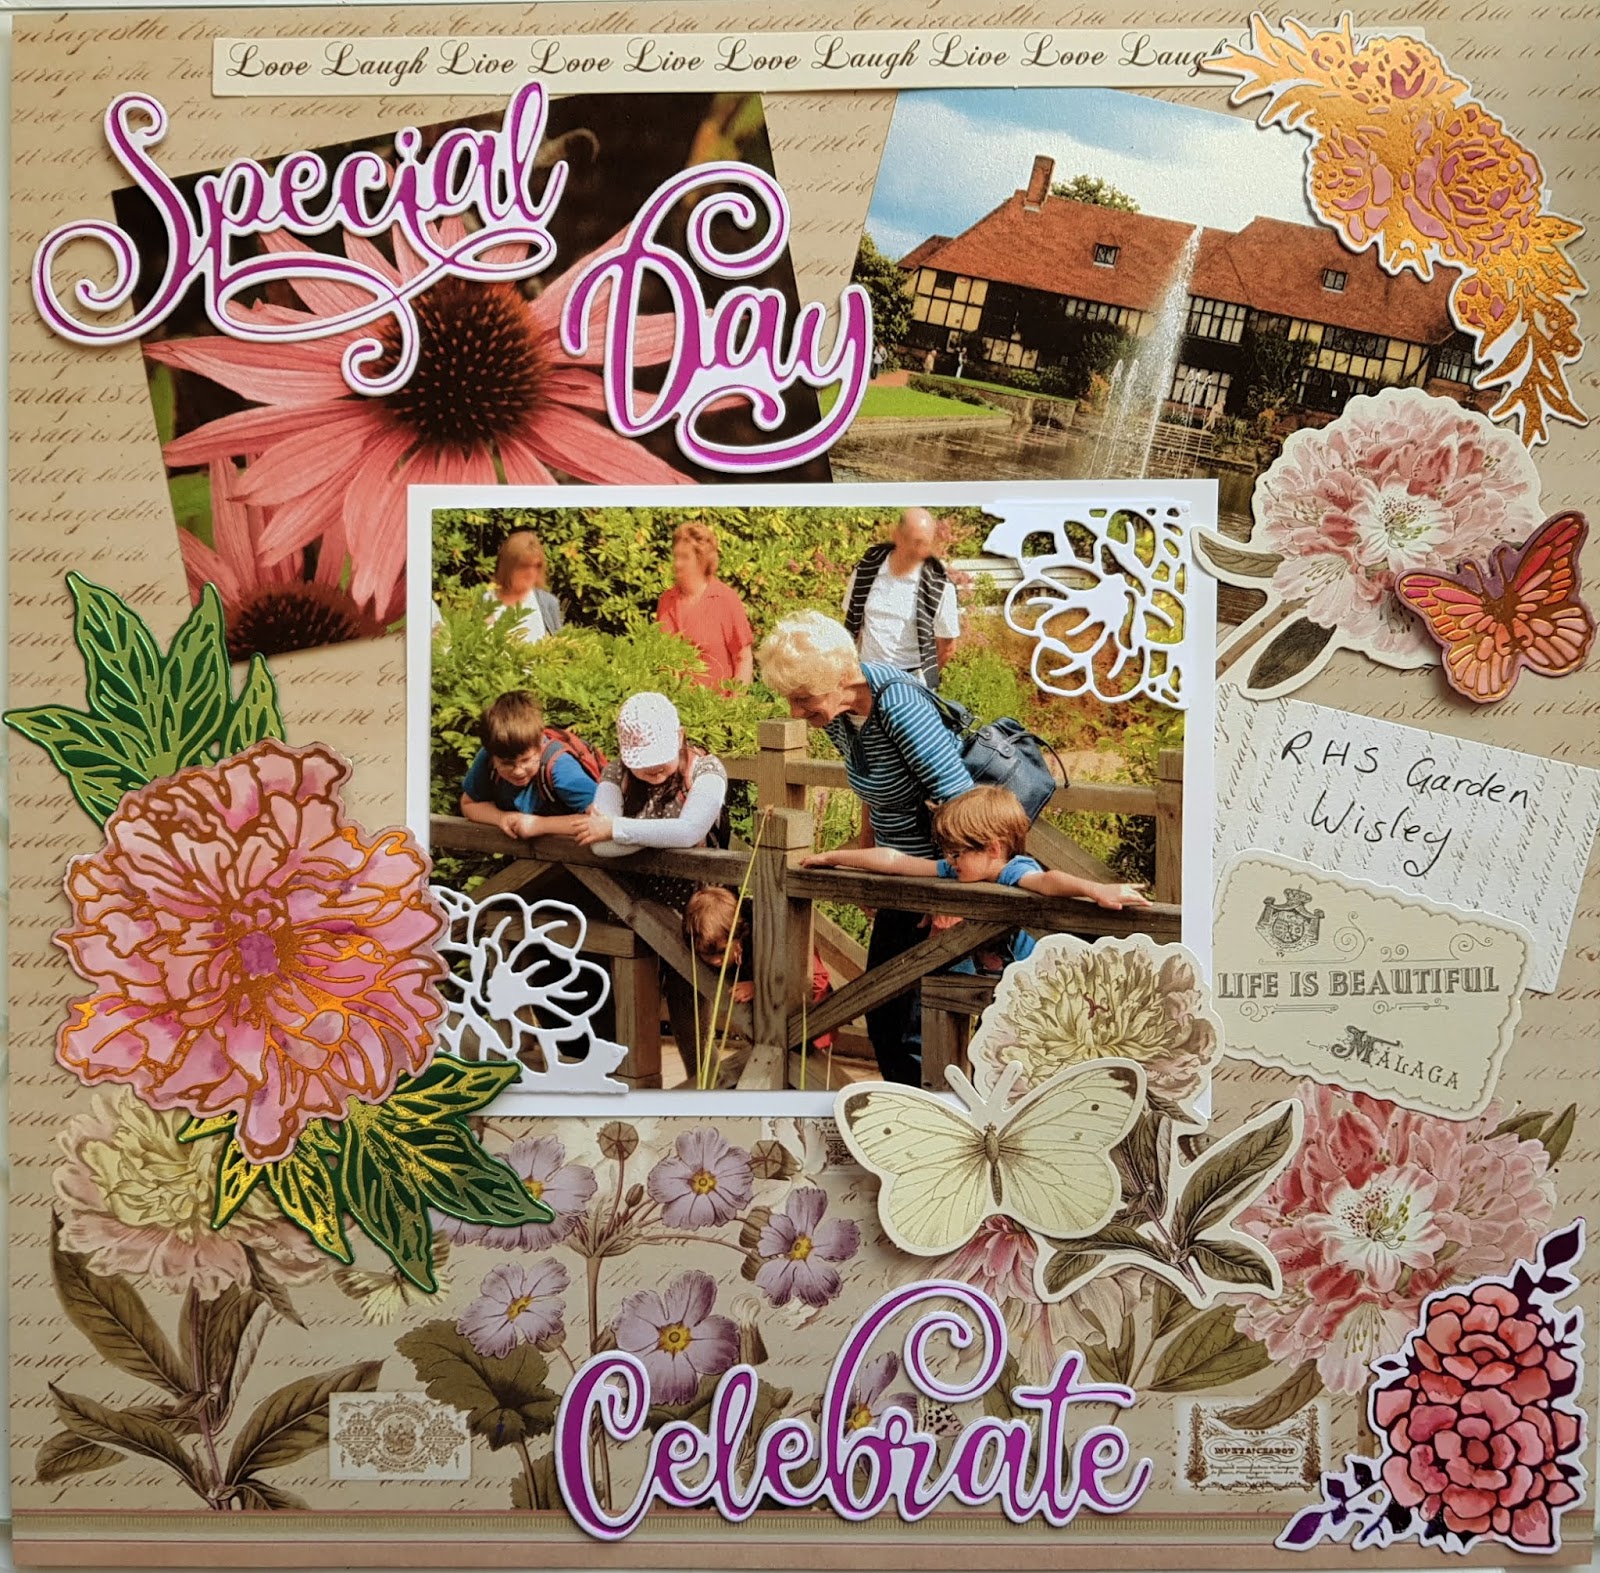
I made this page to remember a special family day out at the Royal Horticultural Society (RHS) Gardens in Wisley
I've used a mixture of elements from older Couture Creations and as well as more recent ones. The Delightful Sentiments cut/foil dies big eye catching words and they can be used with inks, gilding wax or hot foiled.
This version of celebrate is just die cut from plain white card and then ink applied with a blending tool. Build up the colour gradually, using gentle pressure so you don't apply foil to the depressed areas.
The same can be done with any of the cut, foil and emboss dies, but on my layout I've used hot foil and coloured with water based brush pens.
The centre photo is held in place by it's corners being slotted into die cuts - these are from the Peaceful Peonies collection and have tabs that fold around the back. I've secured the tabs to the white mat (not the photo) so the photo can be removed - you might want to note who is in the photo on the back.
I wanted to use some of the Delightful Sentiments, which are lovely and large, along the edge of cards, but was worried that if just glued at the edge they would easily bend or become unglued. So I've found a way of creating a support mechanism which makes them easy to cut and securely attach to the card. These sentiment dies can be used with ink, foil or just embossed into your card. I've used foil on my Sympathy and Celebrate cards, ink for the Thanks! card and for the Special Day card I've just die cut and then used a mica polish product - or you could use gilding wax. You could also cut from plain white card and apply ink to the raised edges using a sponge blending tool.
The support mechanism is hidden by the layers of card/paper used for the background of the card. For the Celebrate card I've used some gold card and embossed some red card (using an embossing folder) To create the support piece, I used a piece of A6 card folded in half lengthwise and positioned the die so that the bottom cutting edges of the letters were below the folded edge. (see my video)
You may need to experiment a little to find the best way of positioning the die.
I used some low tack tape to hold the support piece is place while I marked where it's crease line will be. Then I could apply wet glue to the back of the bottom half of the die cut and use the pencil marks to put it back in the same place to stick it down - be careful not to get any glue on the top half of the die cut.
You can then add your decorative card/paper to the card, hiding the bottom half of the support piece. Then you just need to cut the die out again (with ink or foil) and glue the die cut on top of the support piece and overlapping the front of the card. The sentiment is held securely in place and the double thickness of card helps protect it from being bent.
Here are details of how to cut the angled card with the matching mat/layers - no angle measuring is required. (I demonstrate this in my video) Before cutting the angle on your card base, cut out all the mats/layers of card as if you are going to make a square or rectangular card. Then decide on the angle you want - this will vary depending on the sentiment and how you want to position it, and cut the card base to the shape you want - You need to do this with a single cut, and keep the piece of card you remove.
Place the cut piece back in place to make the rectangle and write "Front" on the front of it and "back" on the other side. You can then use this piece to cut the mats/layers at the correct angle to match your card base.
Flip the waste piece over so that the back of it is facing up and position it at the top of your paper trimmer or guillotine. Then slide your mat/layers of card/paper in so that the long edge is butted up to the waste piece and the corner of the card/paper is on the cut line.
This will have cut the perfect angle on the top of your pieces of card/paper.