Saturday 30 January 2021

Foiled Christmas Crackers


You'll need to either use my Cracker Template or a Cracker die if you have one.

Download the template for the size card you have.  You can then print onto thick paper.  For the crackers, thick paper works better than card.  The paper you print on will eventually be covered by patterned card  or paper.  

A4 Cracker Template

US Letter Cracker Template

You will also need 5 paper clips to help hold things in place while card is shaped and glue dries.

I show you how to use the template, foil panels and assemble the cracker in my video.  The instructions below will probably make more sense if you watch the video first. 


Fold the printed template along the middle of the diamonds and then cut the grey diamonds out of the card.  


With the paper folded along the bases of the grey triangles, cut the grey triangles out, cutting through both layers of the paper.

At the ends of each row of triangles cut in from the edges of the paper - this creates the overlap for gluing the cracker together.

If you are printing on A4 paper you will have some extra card at the right hand end - trim at this end so that the overall length is 11 inches  This should give you 1 3/4" between the tips of the diamonds and the ends of the cracker - check that both ends are the same. 

Next score lines along the tips of the diamonds you have cut out, and fold so that the back along these lines.  This gives you the base for your cracker.   It needs to be decorated before the edges are stuck together.  For now just bring the edges together and hold them in place with paper clips so that the paper gets used to being curved - it will make the final assembly easier - see the video.

Cut pieces of coloured card or decorative papers to fit the edges and middle sections of the cracker.  As printers vary, and you might be using a cracker die, it's best you check how wide these need to be on your cracker.  If you are foiling these pieces then foil all of them before starting to stick them onto the cracker base - see video.

I've found it best to stick one of the short edges of each peace to the cracker base with double sided tape and use wet paper craft glue on other areas, leaving the other short edge, to about 1/2" from the edge, without glue.  With the glue still wet curve the ends of the cracker together and smooth down the decorative paper. - Once the glue has grabbed add glue to the other end of the piece on both inside faces of the cracker base and the decorative paper. Slide the end stuck with double sided tape between the cracker base and the decorative paper and hold in place until the glue has grabbed.   You can use paper clips on the cracker ends until the glue dries.

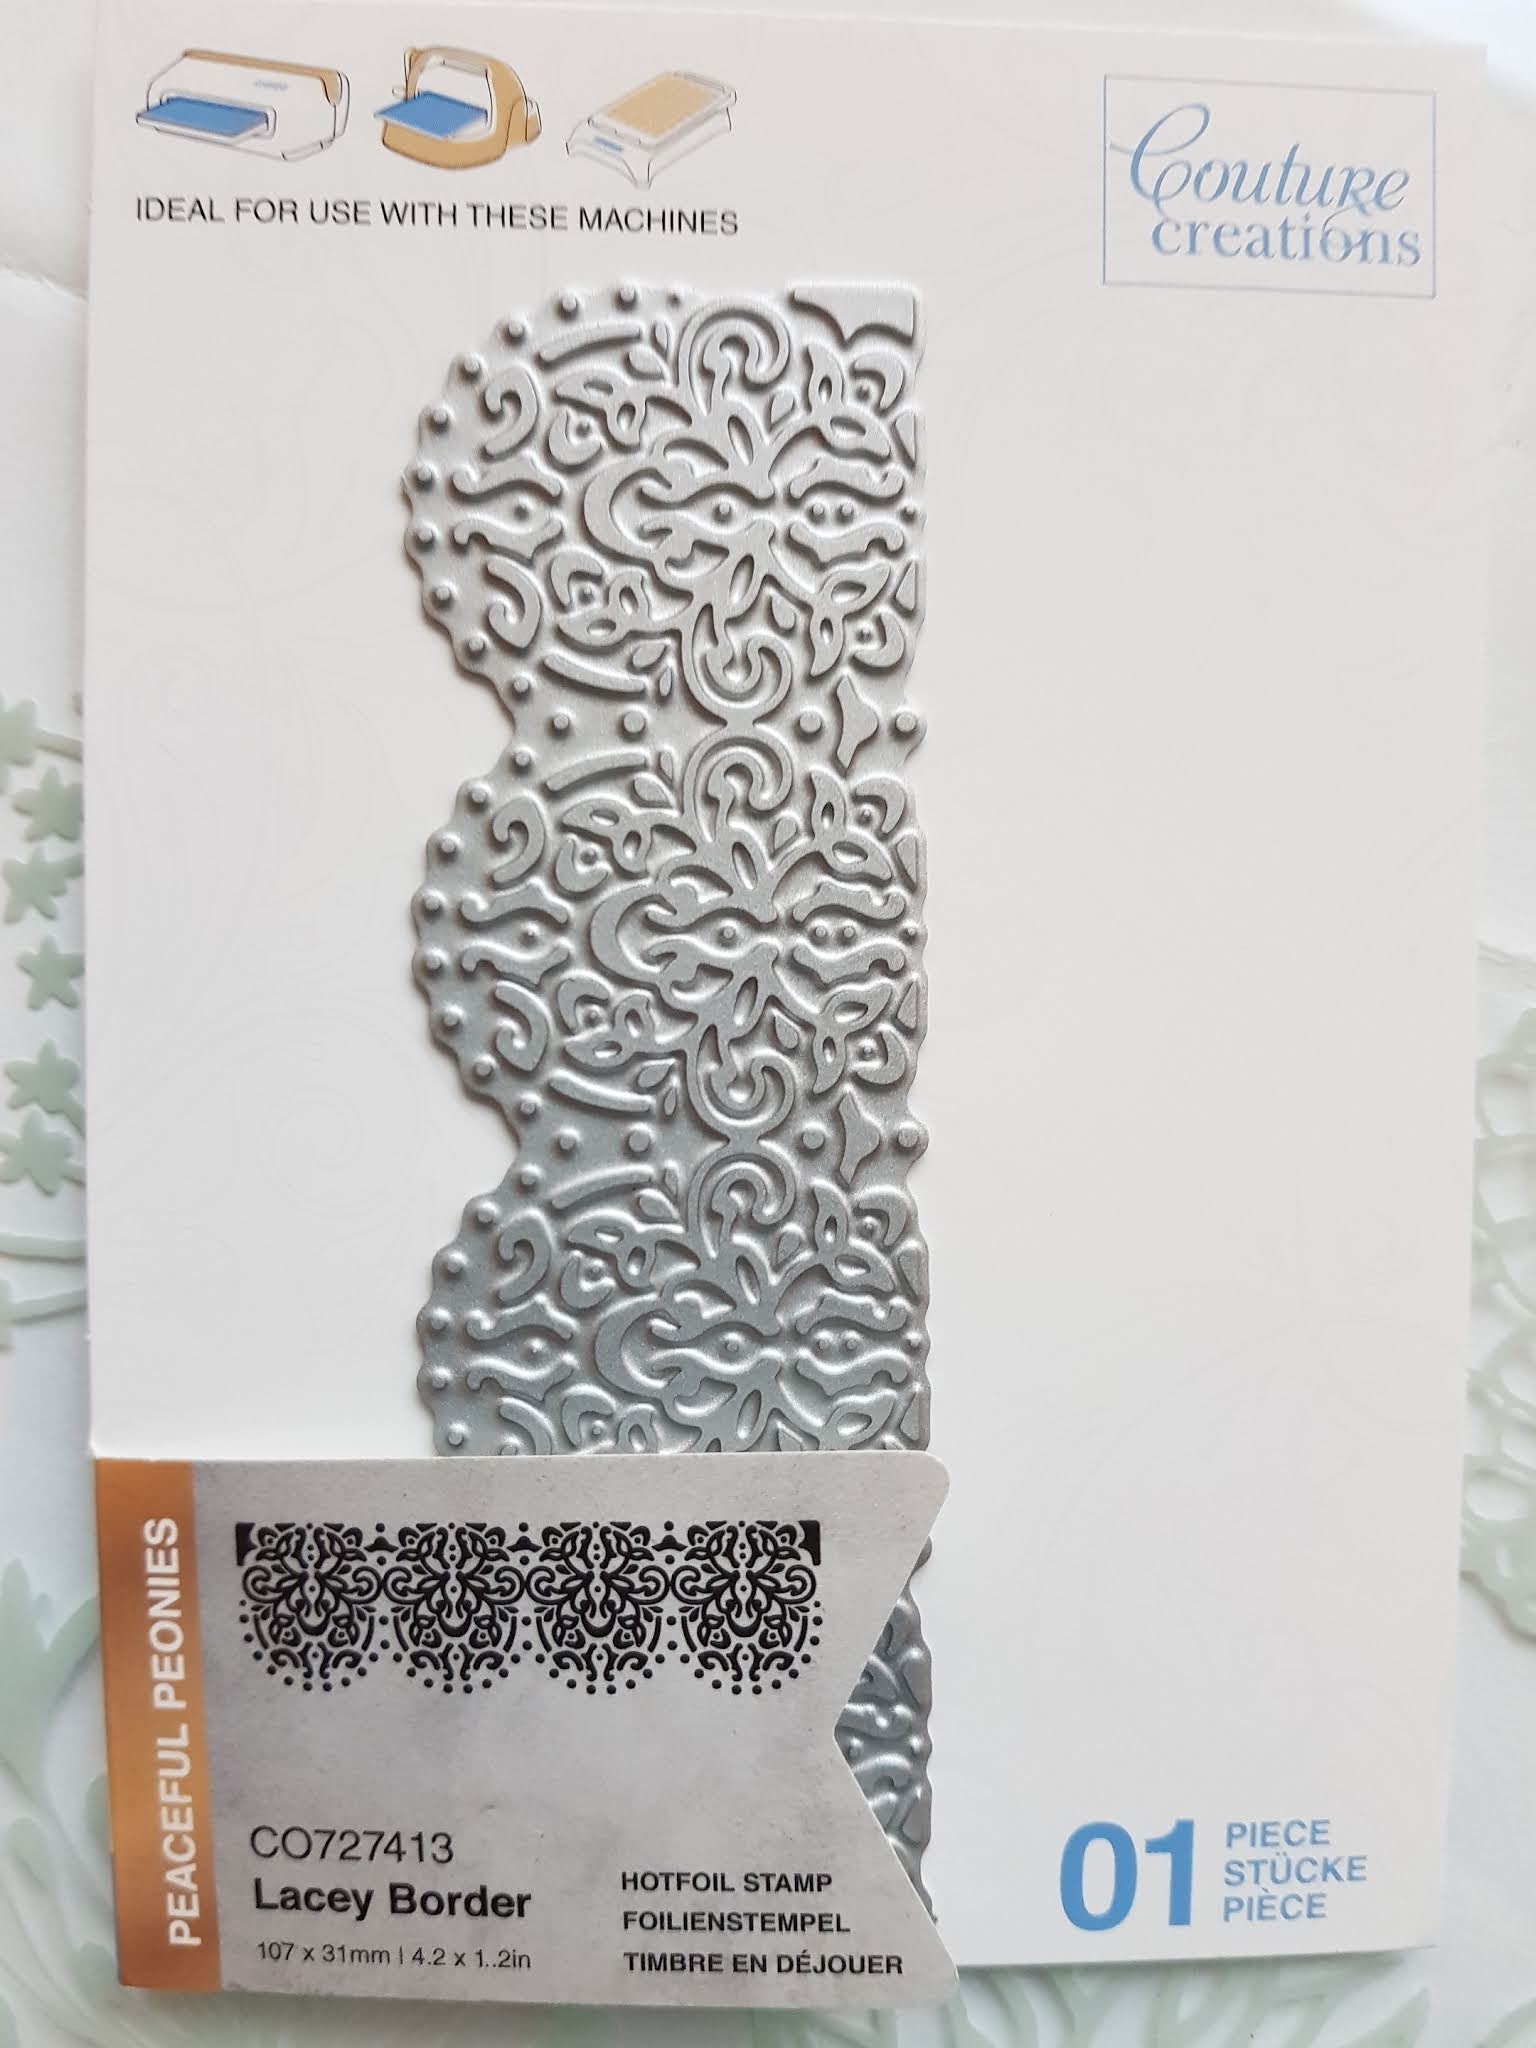
Here are some of the foil stamps I mention in my video - they are just suggestions for decorating the panels.


I can't tell you where you can buy any of the products.


Monday 18 January 2021

Cool Blue Layered Zinnias

Cool Blue Layered Zinnias


Couture Creations Cut and Create dies can be used with either pigment inks or foil.  For this card I've used the Layered Zinnia Cut and Create die set with Card Deco Pearl pigment ink - Navy Blue.

The soft blue oval in the background is also created using the Card Deco Navy Blue Pearl pigment ink and a Couture Creations ink blending brush - I show you how to do this in my video (link at bottom of page)


 My card is 5"x7" and I've used navy blue card as a mat layer.  I've cut the mat layer to 4 13/16" x 6 13/16" and the piece for the card front to 4 3/4" x 6 3/4".

Cut 2 pieces of white card the to the size for your finished card front. 

Use a die to cut an oval in the centre of one of the pieces of white card to use as a mask - tape the die cut piece in front of the other piece - I used masking tape to make a hinge at one side.

Load your blending brush with ink and gently apply ink around the inside of the oval, leaving the centre white.  You can lift the top piece of card from time to time to check how much ink has been applied - its hard to tell how much ink you've laid down until you lift the front piece of card.

I've used Card Deco Grey dye ink to stamp some leaves and flowers that will be in the background, and added a sentiment in black ink.


Now you just need to apply ink to the dies, cover them with card and run them through your die cutting machine.  I've used the same ink on all of the flowers but for some I applied more of the ink (see my video)


Couture Creations Products 


Friday 8 January 2021

Layered Camelia - Vintage Frame Card

 Layered Camelia

Vintage Frame Card


The papers I've used to make this card are left over papers from the Merry Little Christmas set and the dies used are a mixture of old and new.   

The flower is from the new Vintage Flowers collection - the Layered Camelia.

The frame is the Nesting Chandelier Frames - from an older collection.  
I've foiled this onto a wood effect paper from the Merry Little Christmas set.  When using the cut, foil and emboss dies with papers rather than card I add an extra shim of card on top of the paper to push the paper into all the detail foiled areas.  The extra shim doesn't go to waste as after foiling I glue the 2 layers together to give the extra stiffness - so that I can mount the frame on foam pads without it sagging.  I've used Chocolate Copper foil for the frame.


I foiled my sentiment in the Persimmon Orange foil, and then cut/foiled using the inner part of the frame set.  I trim the middle out of the foil using a craft knife so I can see where to position the die and foil over the sentiment.


The Layered Camelia flower is foiled onto black card, which makes the Persimmon Orange foil really pop.
The die set has 2 parts for the flower petals, but I've added an extra layer.


I've added shape to the petals using a ball tool so my flower has lots of depth.


I've used Red Copper foil in the leaves so they are a lighter shade than the flower.


Couture Creations Products Used

CO727728  - Cut and Create die set - Vintage Flowers - Layered Camelia
CO727630 - Cut and Create Die - My Secret Love - Reaching Fern
CO726464 - Cut, Foil and Emboss Die - Modern Essentials - Nesting Chandelier Frames (3pc)


Friday 1 January 2021

Lining up Alphabet Foil Stamps


In this video I'm showing how to use alphabet hot foil stamps (individual letters) to create words - and keep all of the letters lined up correctly. The alphabet set is from Crafters Companion - Gemini Foil Press foil stamp dies, but they can be used on any hot foiling platform (Gemini FoilPress, GoPress & Foil or Spellbinders Glimmer) and this technique can be used which ever hot foiling platform you have.

The capital letters in the set I'm using are 1" (2.4cm) high. In addition to your foiling platform and foil, you'll need the alphabet foil stamp set (or similar), a magnetic sheet, some acrylic stamping blogs (to use as straight edges) and some good quality masking tape (I used Frog Tape for Delicate Surfaces) or Washi Tape.