For this card I'm working with some Cut and Create dies from Couture Creations. I've used the Floral Frame and Standing Daisies Cut and Create Layering die sets. Both sets are from Couture Creations Vintage Flowers Layering Cut and Create dies collection. The flowers in the Standing Daisy set are the same size as those on the frame, so they can be layered together.
Couture Creations Cut and Create dies can be used to cut and emboss, cut and stamp or, in conjunction with the GoPress & Foil, they can be used to create foiled elements in a design.
For my card I've used my GoPress & Foil to add contrasting colour using a variety of Couture Creations hotfoils. For the frame I've used Sea Breese (turquoise), for the daisies and the sentiment I've used Phantom Purple and for the butterfly and the centres of the daisies I've used a silver iridescent foil.
The Floral Frame Cut and Create die set includes the Frame, Sentiment and Butterfly
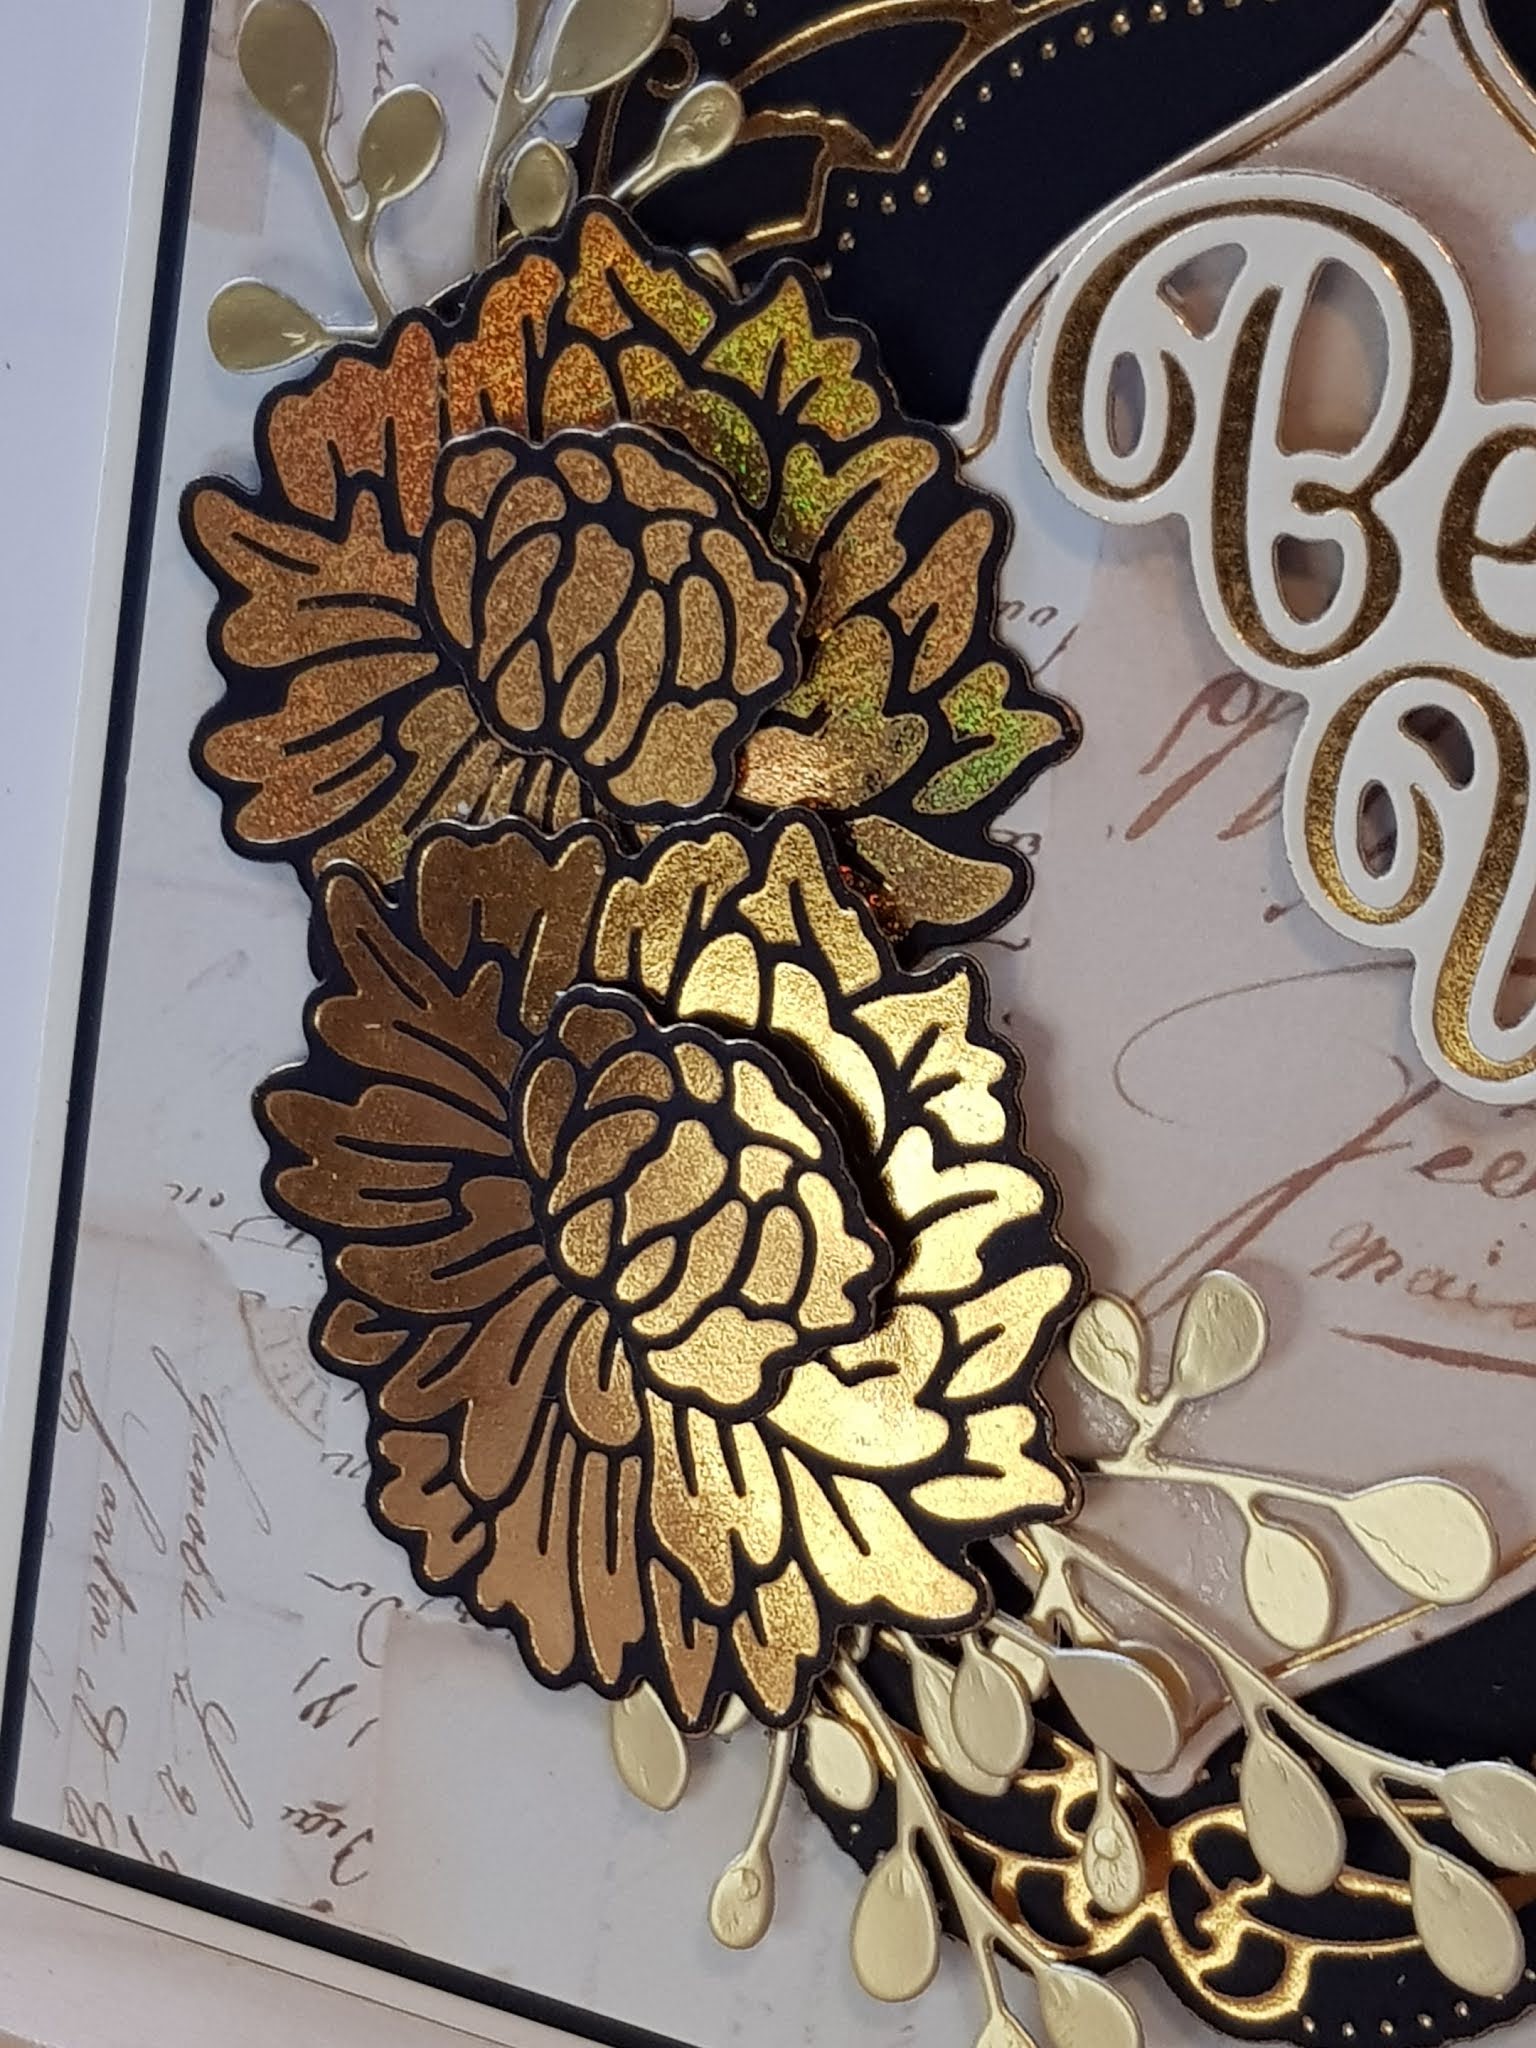
The beautiful flowers used on this card are from the Couture Creations Vintage Flowers Collection - Layered Zinnias. I thought they were peonies, but I'm no gardener - the important thing is that they are a beautiful embellishment to use in craft projects. I've used them with foil (and my GoPress & Foil machine) in this project but they can also be used like normal thin dies and just cut out, or inked and cut.
The Layered Zinnia set has 2 dies - one for the main flower and a 2nd one to create the centre - this allows you to create a layered, dimensional look.
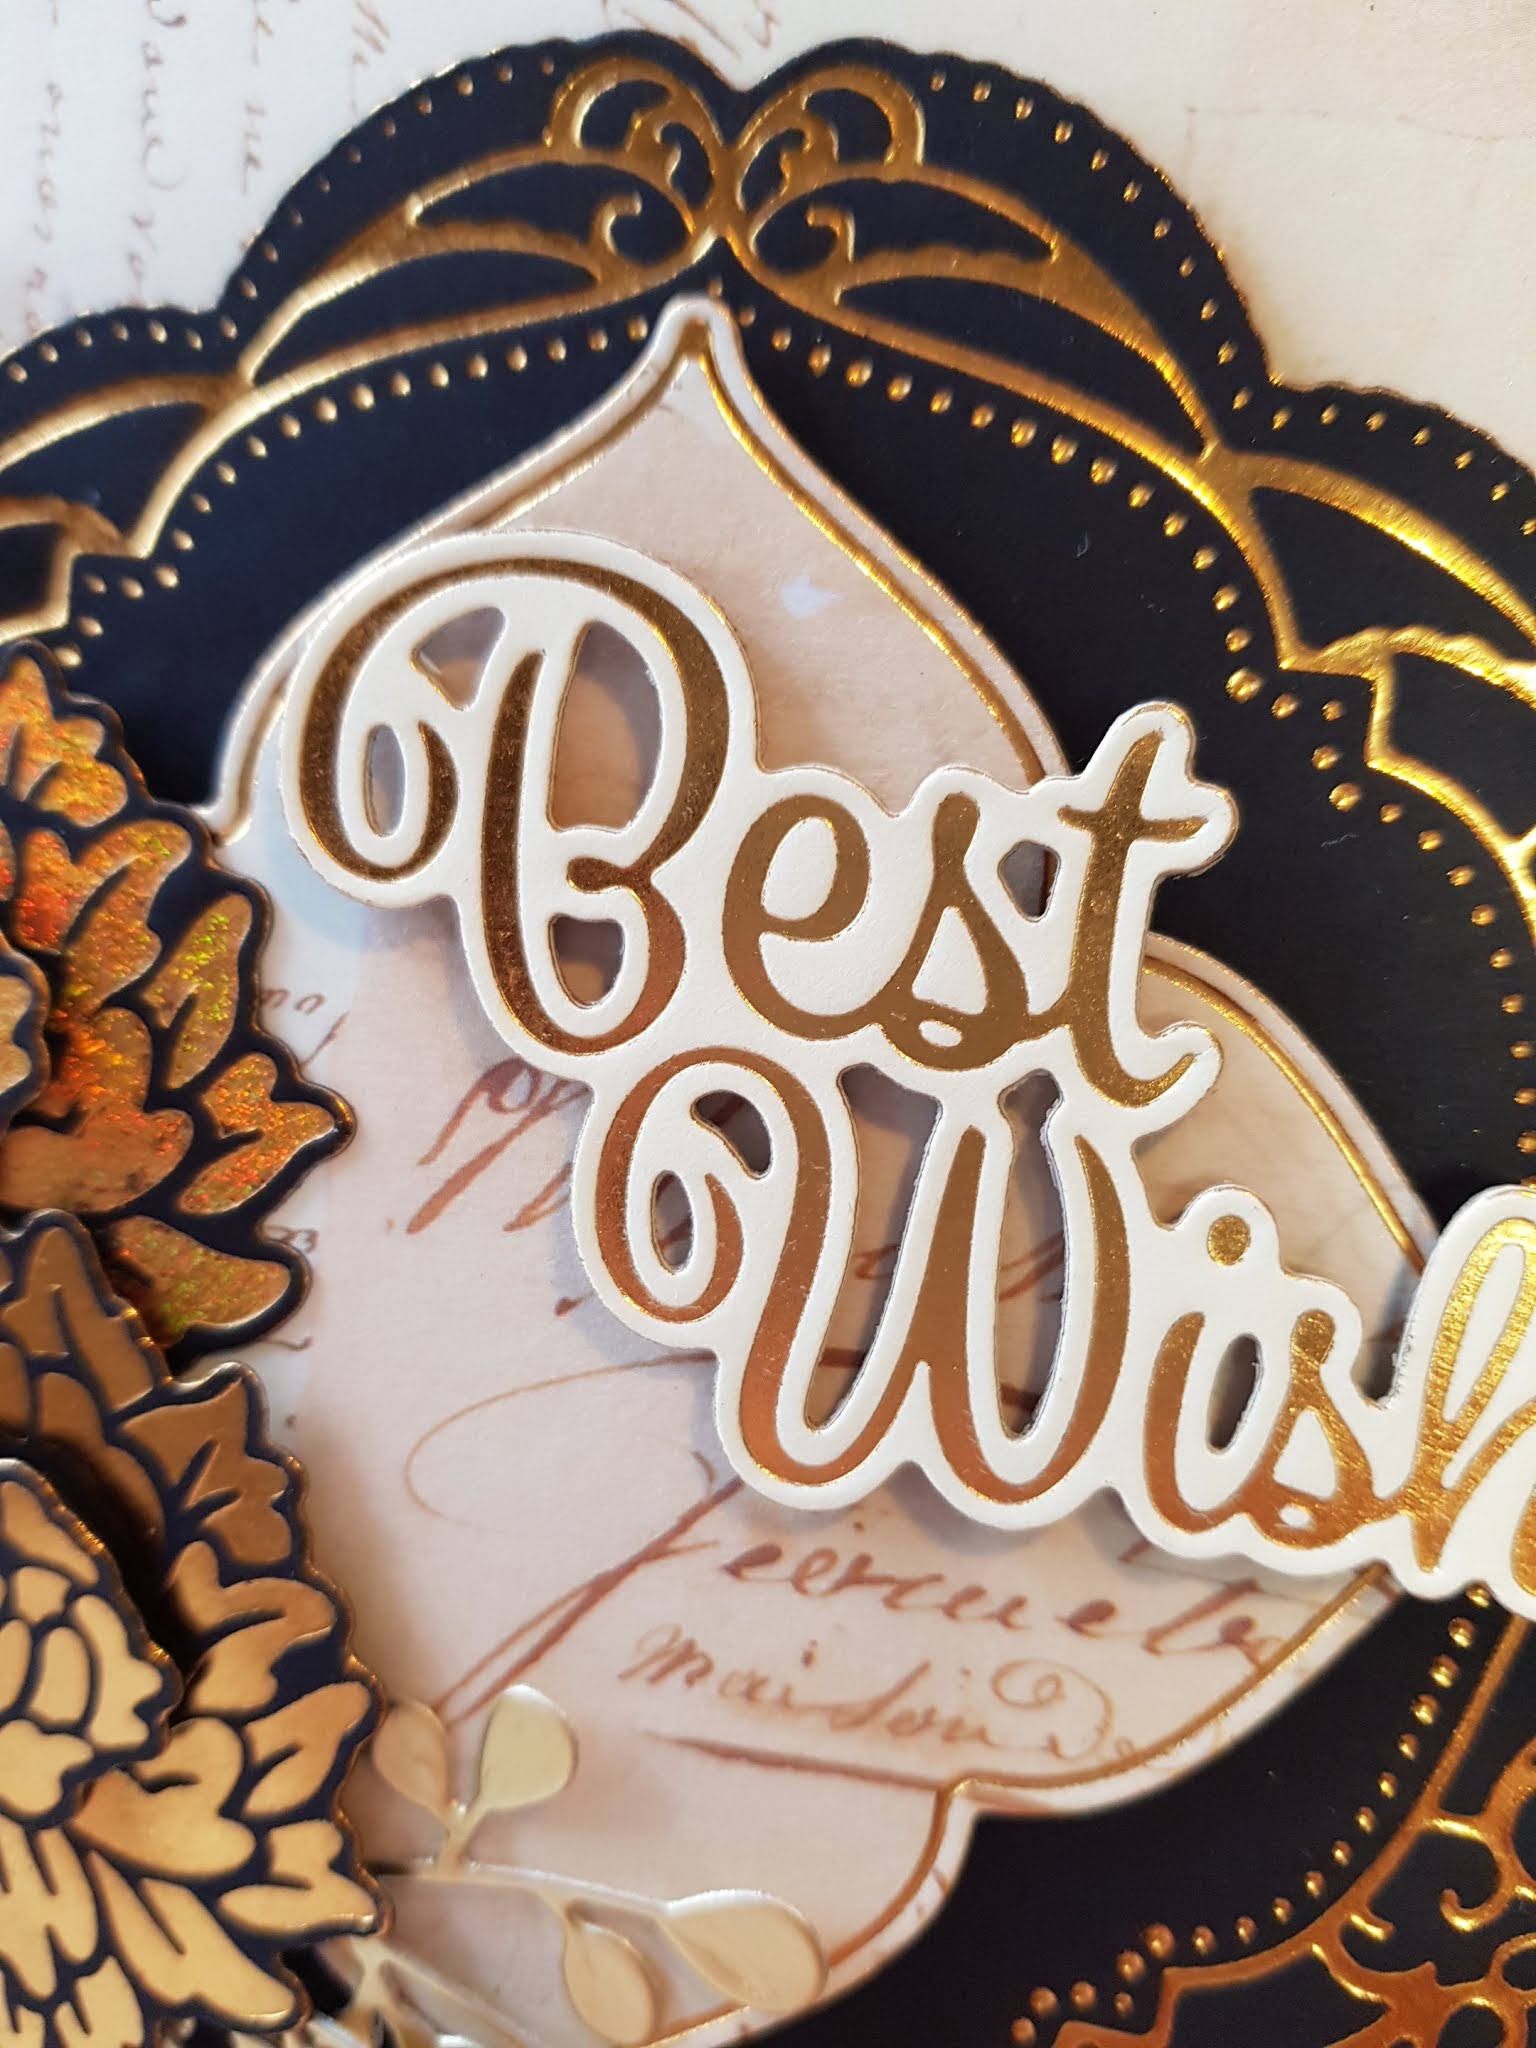
The Sentiment on this card is from another of the Vintage Flower die sets - the Floral Frame, which is a set of 3 - a frame, a butterfly and the Best Wishes sentiment. To make raising this on foam pads easier, I've cut the die again from the craft card used as a shim when foiling it and stuck the 2 layers together.
To build up the layers of this card, I first cut my card blank from a cream A5 card blank. I used the waste piece from this to foil the sentiment.
I cut a piece of black card to 14.4cm square and then Cut & Foiled the largest die from the Nesting Circular Flourished Frames Cut, Foil and Emboss die set.
I cut my backing paper to 14cm square, then cut & foiled the centre piece of the topper using a die from the Nesting Floral Frames Cut, Foil and Emboss die set. When using these sets with paper I add a card shim when foiling. This protects the paper from being torn during the foiling process and I used the extra layer of card with the paper to make it stiff enough to raise with foam pads.
I show how to foil the Zinnia flowers in my video (link at the bottom of the page). I've added a small black foam pad under the top of the flower centre to make it stand out.
In my video I show you how to foil the Zinnia flowers and put the card together, and also show you other dies in the Vintage Flowers collection.
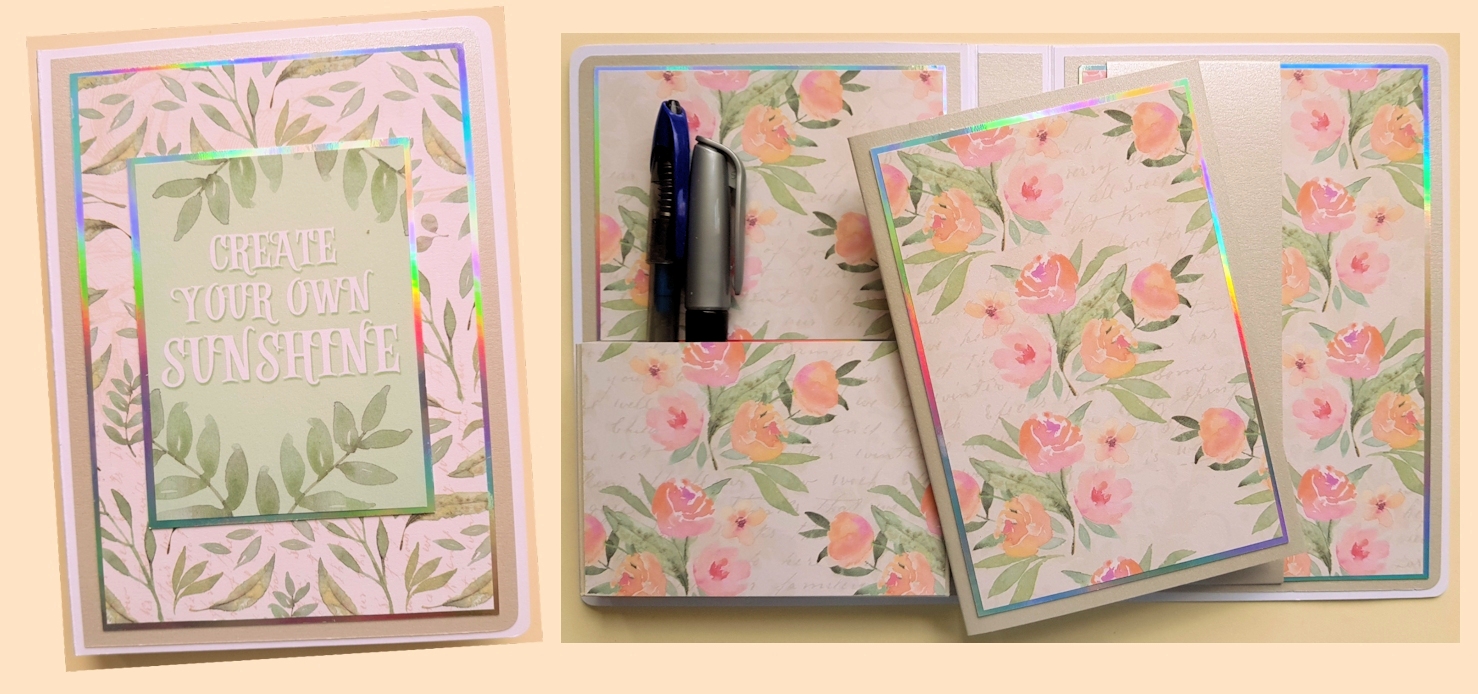
I love the warm pinks and muted greens in these papers from Couture Creations "My Secret Love" collection. I've used them to decorate a notebook holder, but this could be adapted to make an album or memory book - you might want to make the spine a little wider to accommodate the page attachments if you are making an album or memory book. The one I've made is 5" x 7" with 1" depth at the spine. Along with the beautiful papers I've use 300gsm white card (2 A4 sheets), some beige pearl card (3 A4 sheets) and some rainbow mirror card (2 A4 Sheets). The notebook I've used is A6 - 10.6cm x 15cm (European size), but there is room for a slightly larger notebook. You'll need to use 2 sheets of 12" x 12" patterned paper, including covering you notebook to match the holder. You may also want to snip out additional coordinating elements from your papers to add more decoration. I've use the Couture Creations Mini Guillotine, the Couture Creations Scoring Board, the Couture Creations Mini Score Board and a small corner rounding punch. I've used pva glue applied sparing with a fine tip nozzle to stick my layers together, except when sticking the papers down onto the mirror card, where I have used double sided tape. Please take a look at my video (link at bottom of page) to see which tools I've used and how I've used them. Cut one of the A4 sheets of white card down to 11" x 7" and score 5" in from each of the ends. Burnish the folds to create the base of the notebook holder. See my video for tips on doing this using a small scoring board.
Next cut enforcing pieces from the other sheet of white card. The measurements for these are shown in the picture and they are slightly narrower than the spaces they will be stuck down in so that the fold lines are not covered. You will need 2 pieces 4 15/16" x 7" and a strip for the spine 7/8" wide, but slightly longer than 7" - it is easier to cut this piece to length after it is stuck in place
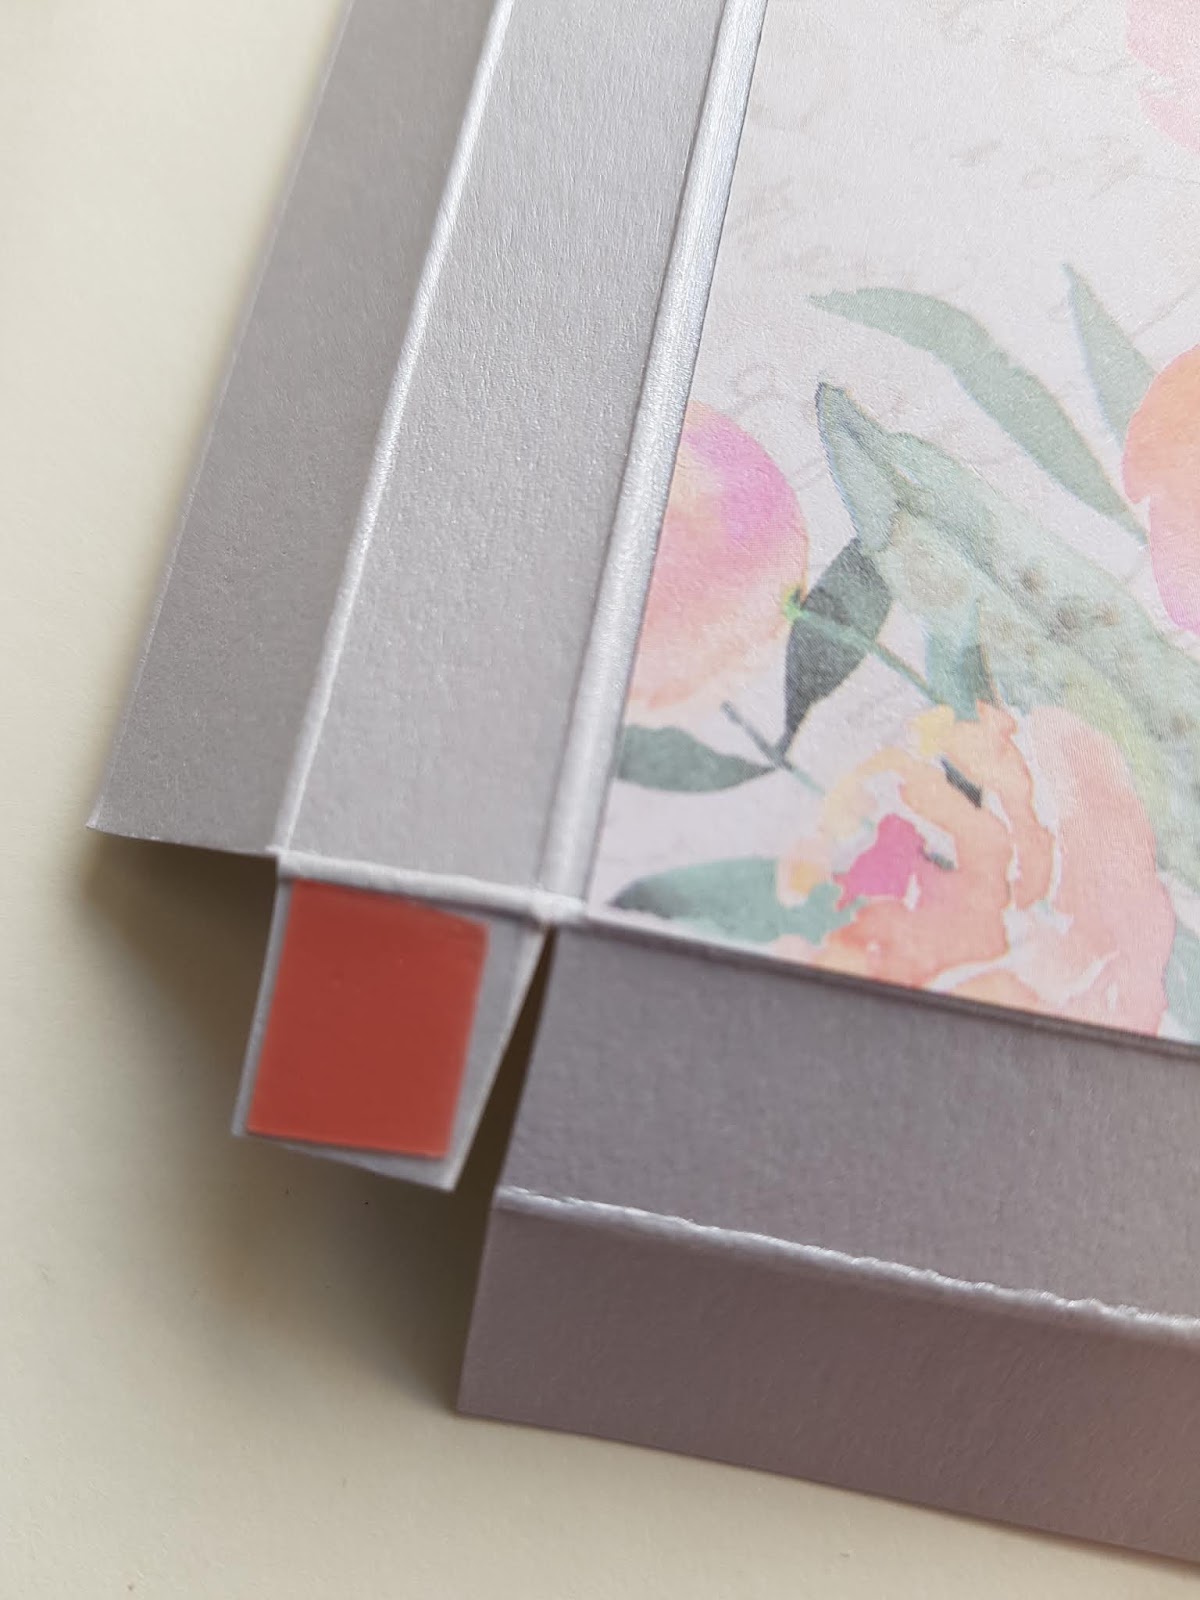
If you want to have rounded corners on your holder or album, use the corner rounding punch on the 4 corners of the base piece and on the matching 2 corners on each of the reinforcement pieces before gluing them together. Glue the reinforcement pieces down on the inside face of the cover, being careful not to cover the crease lines - as shown below. Trim the piece reinforcing the spine to length after you have stuck in down.
The next thing to do is to decorate the front cover - matting and layering with the patterned paper. It's easier to do this now, while you can open up the holder/album and work with it laying flat.
Next, add the base mat layers inside the holder. I've used the beige card for this.
Then cut to size the pieces needed to mat and layer the patterned paper with the mirror card and stick those together using double sided tape - but DO NOT stick them down inside the holder yet, as a strip needs to be added to hold the notebook in place.
Once the paper and mirror card are stuck together use them to score a 2" wide strip of card that will wrap around them. Cut the strip to be 8" or 21cm (for A4 card) long as you'll need approximately 1/2" at either end of the strip to fold behind this layer and stick it in place
Wrap the strip around the layer length ways about 1/2" from the left hand edge and stick in place with double sided tape - I've used high tack tape.
Then stick this layer down on the base layer inside the holder, on the right hand side.
For the left hand side, where there is a pen holder, you also need to prepare the layers of patterned paper and mirror card, but DO NOT stick them together. Cut them to size and check that they would layer together - but the paper is going to be cut so that the bottom portion will cover the pen holder, and the top portion will be stuck down onto the mirror card. For the pen holder, cut a strip of card 4 1/2" wide and 2" wider than your patterned paper - this will be approximately 6 1/2" wide - but do check how wide your patterned paper is. I've used some of the beige card for this. Score at 1/2" and 1" at one end of the card and then use the patterned paper to mark out the width of the pen holder and make a score line. Then make 2 further score lines 1/2" apart. Trim the card off at the furthest score line.
You also need to make score lines on one of the long edges at 1/2" and 1" from the edge - or in from the other edge.
Burnish all of the scored lines, and then cut away the card at the corners as shown. I've cut a small "v" down the sides of the small flap that folds in to hold the sides in place.
Now cut the patterned paper into 2 pieces - make sure the bottom section is just the right size for the pen holder. Instead of measuring you might want to stick the whole piece in place, glued to the front of the pen holder and then trim off along the top edge.
Stick the top half of the paper down on the mirror card. If you want to add some elastic across the top half to help hold pens in place do this now, before sticking the mirror card down onto the inside of the front cover.
Add some double sided tape to the two flaps and fold the sides and bottom in and secure in place
Score a length of card at 1/2" spacing and fold and stick as shown - I've left a long section for a ruler or highlighter pen. These partitions are strong enough to stop pens falling over, but can still be flexible enough to accommodate pens that are a little larger than 1/2".
Now you can fold in the bottom and side flaps and add double sided tape.
Now the pen holder can be stuck in place, inside the front cover.
I've also decorated my notebook to match with some more mirror card and patterned paper.
Here's my video showing how I've used some of the tools and giving you a look at my finished notebook holder.
For these cards I've been exploring using a repeat foil stamping technique to create large wreaths as my card background.
It's much quicker and easier than you'd think, as rather than moving the hot foil stamp, you turn the card and foil the hot foil stamp 4 times before moving it and foiling 4 times again, rotating the card each time. In part 1 of my video I show you how I create the foil wreaths on the top two cards, and part 2 shows how I created the bottom right card using a large hot foil stamp and a larger piece of card (the card base is 7"x7"). The bottom left card is created using a different hot foil stamp, but the foiling technique is the same.
You need to create your wreath on a square piece of card. I've used a 15cm Square, which is the same width as the GoPress & Foil hot plate - so it will fit through any die cutting machine that the hot plate will fit through. If you have a larger die cutting machine (A4 plate size) you can use a larger piece of card and allow it to stick out of the sides of the GoPress & Foil hot plate. See part 2 of my video for more details on using larger card and large hot foil stamps.
Before you start (preferably while your hot plate is still cold) mark the centre point on the front edge of the plastic frame that goes around the heated part. Once you've made the mark you can start the hot plate heating up ready to foil.
Cut your square of card to size. I like to start with my card a little larger than I need and trim it down after I've done all of the foiling. Draw guide lines on the back of the card (or paper) - the diagonal lines are just to find the centre; the lines that mark the mid point of each edge are the important ones. Number each of the mid point lines - this will help you keep track of which way the card needs to be rotated between each foiling.
Now you just need to position your hot foil stamp. I like to use a stamp press magnet wrapped in in masking tape - you can position the hot foil stamp on the card, put the magnet on the back and use it to transfer the the hot foil stamp onto the hot plate (see video).
Once you've heated the hot foil stamp, I recommend you do a test run (or two) using a scrap of your card/paper and a small piece of foil to check how many card shims give you good, reliable foiling results.
Now to foil the wreath, you just need to add your foil (pretty/coloured side down) and then put your card/paper on top with the guide lines facing up (visible).
Line up the mid point of side number 1 with the centre point mark you made earlier on the hot plate frame.
Use a small piece of low tack tape to tape the edge of the card to the plastic frame. Then add your shims, close the lid and roll through your die cutting machine.
When you lift the card off the hot plate be careful not to move the hot foil stamp.
Peel off masking tape off the card and peel off the foil.
Now you just need to add another piece of foil to the hot foil stamp, rotate the card and position so that the mid point numbered 2 is against the mark on the hot plate frame, add your shims, close the lid and roll.
Repeat for sides 3 and 4.
Now remove the hot foil stamp and let it cool so that you can work out the position it will need to be in for the rest of the foiling. I've used a different colour foil for the next 4 passes - in the finished wreath the colours will then alternate.
When you've got your hot foil stamp in position and its heated, foil as before rotating the card for each pass.
To finish off the cards, I've matted with contrasting card and added sentiments and some flowers.
Part 1 of my video covers the basic wreath building technique, and part 2 covers using a larger piece of card and a large hot foil stamp - where some extra consideration is needed with positioning the hot foil stamp.
Video part 1
Video part 2
Couture Creations Products Used:
CO727383 - Cutting die set (3pc) - Peaceful Peonies - Layered Trilliums
CO727392 - Mini Cutting die set (2pc) - Peaceful Peonies - Tall Branches