Butterfly Garden - Hanging Plaque

This project is a hanging MDF plaque, featuring papers, dies and foiled elements from Couture Creations Butterfly Garden Collection.
Start by choosing a section of one of the 12x12 papers and cutting it a little larger than your MDF plaque. To stick the paper to the plaque I use a PVA or "tacky" glue applied to both the MDF and the paper with a brayer (hard roller) - The brayer applies an even, thin coat of the glue quickly.
Stick the paper over the MDF, and smooth out, and then leave it for the glue to dry completely, before using a sanding block to remove paper overhanging the edge of the MDF. (see my video)
I started by adding the panel with the inspirational words "Live Love Laugh". I used Couture Creations black foam mounting pads to raise it off the surface of the plaque. For this panel I've used another of the Butterfly Garden papers. The words are foiled in a grey foil, and then I used one of the nesting Modern Essentials cut, foil and emboss dies to foil the edge in gold, and cut out the panel.
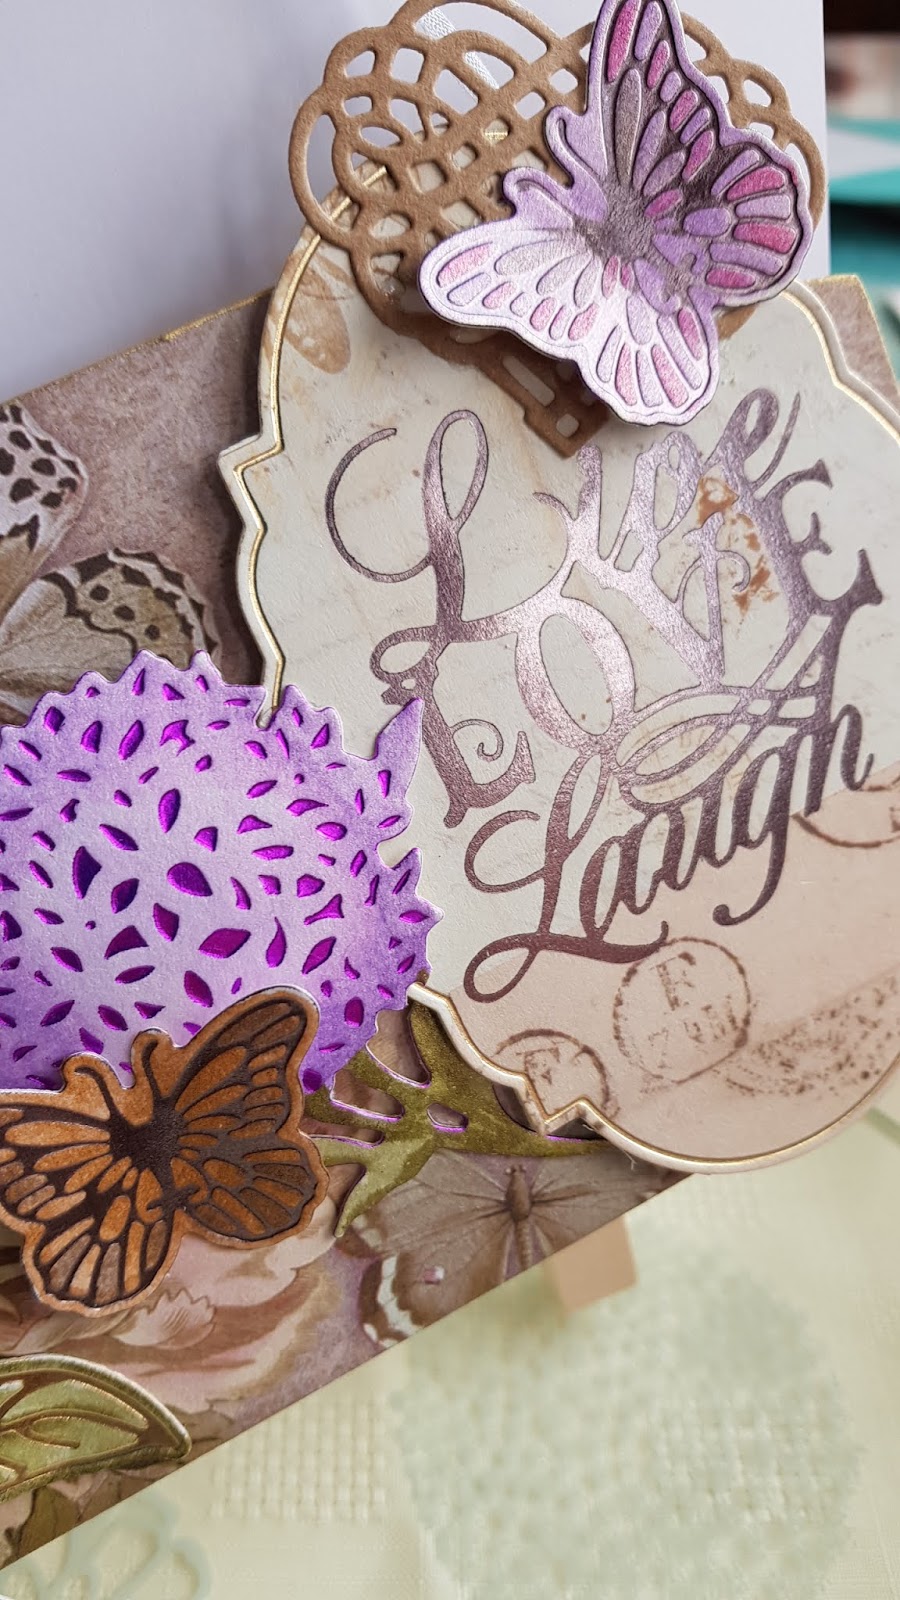
For the flowers and butterflies, I've foiled onto pearl card stock, and then coloured using water based brush pens. My card lets me reactivate the colour with a water brush, but alternatively, you can scribble with the pens on a glass mat and then pick up the colour with a water brush to colour the foiled items. I show you how I do this in my video.


As my pearl card is quite thin, I add an extra layer of plain card when foiling using the cut, foil and emboss dies. This both gives me a deeper emboss for the foil, and also results in an extra die cut to match the foiled piece. I stick the two layers together using a wet glue, and shape the foiled pieces while the glue is still wet, so they keep the shape once the glue has dried.

I use am acrylic gel medium to stick down anything that has been shaped or needs to be stuck down to an uneven surface, or overlapping die cut elements. Pinflair gel glue or similar should work just as well.
My video shows me making the plaque from beginning to end, so it's quite long. Feel free to skip forward through any bits you don't need to watch.
Couture Creations Products Used
CO726534 - Butterfly Garden - 12x12 Sheet 7
CO726530 - Butterfly Garden - 12x12 Sheet 3
or
CO726526 - Butterfly Garden - 12x12 Paper PadCO726541 - Butterfly Garden - Woven Heart mini cutting die
CO726552 - Butterfly Garden - Beehive mini cutting die
CO726567 - Butterfly Garden - Live Love Laugh, hotfoil stamp
CO726569 - Butterfly Garden - Ruffled Peony cut, foil and emboss die.
CO726467 - Modern Essentials - Nesting Butterfly Frames (butterfly)
CO725900 - Lavish Ballroom - Hydrangea cut, foil and emboss die
CO726460 - Modern Essentials - Nesting Inset Oval Frames

CO726428 - Couture Creations Adhesive - 3D Foam - Black Dots


